
TL L5-2451cc 2.5L SOHC MFI (1997)
5. After the adjustment, install the radius rod onto the lower arm, then tighten the flange bolts.
6. Tighten the new self-locking nut to specified torque.
CAMBER
Inspection
NOTE: Use commercially-available computerized four wheel alignment equipment to measure wheel alignment.
1. Check the camber angle.
Camber angle:
Front: 0°00' ± 1°
Rear: -0°30' ± 1°
2. If out of specification, check for bent or damaged suspension components.
FRONT TOE INSPECTION/ADJUSTMENT
NOTE: Use commercially-available computerized four wheel alignment equipment to measure wheel alignment.
1. Check the tire pressure.
2. Center steering wheel spokes.
3. Check the toe with the wheels pointed straight ahead.
Front toe: OUT 1.0 ± 2 mm (1/16 ± 1/16 inch)
-If adjustment is required, go on to step 4.
-If no adjustment is required, remove alignment equipment.
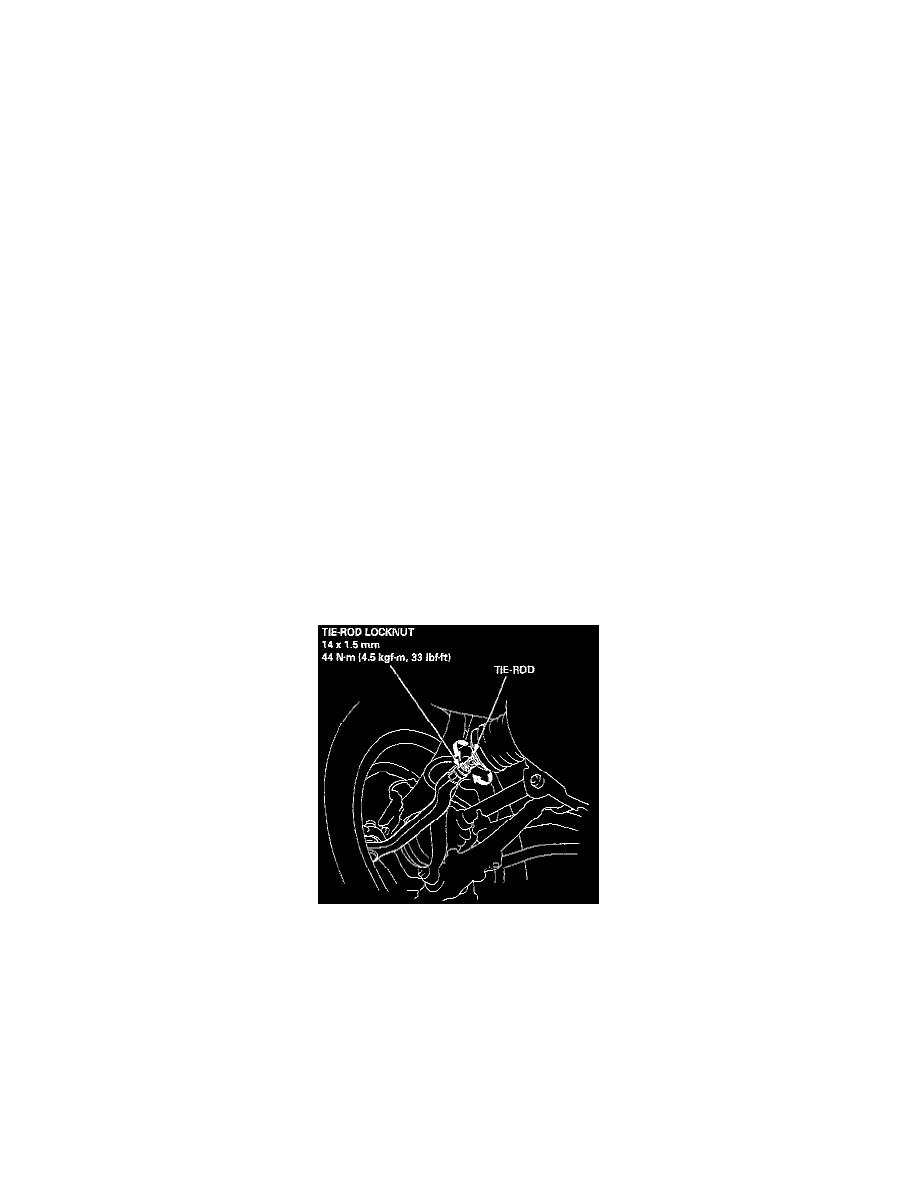
4. Loosen the tie-rod locknuts, then turn both tie-rods in the same direction until the front wheels are in straight ahead position.
5. Turn both tie-rods equally until the toe reading on the turning radius gauge is correct.
6. After adjusting, tighten the tie-rod locknuts.
NOTE: Reposition the tie-rod boot if it is twisted or displaced.
REAR TOE INSPECTION/ADJUSTMENT
NOTE: Use commercially-available computerized four wheel alignment equipment to measure wheel alignment.
1. Release parking brake.
NOTE:
-
Measure difference in toe measurements with the wheels pointed straight ahead.
-
If the parking brake is engaged, you may get an incorrect reading.
Rear toe-in: 2 ± 2 mm (1/16 ± 1/16 inch)