| –
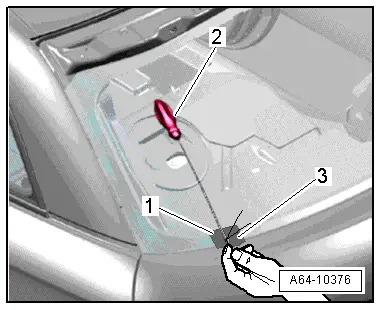
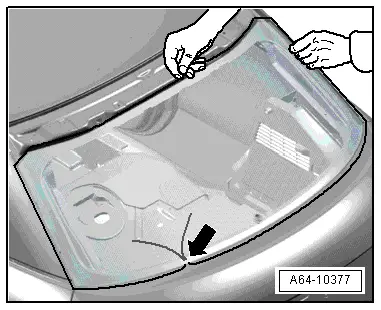
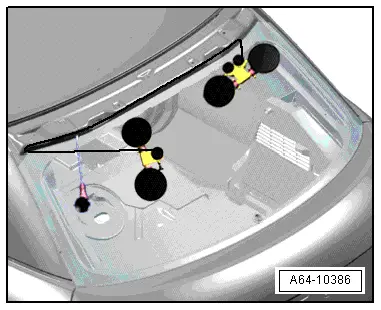
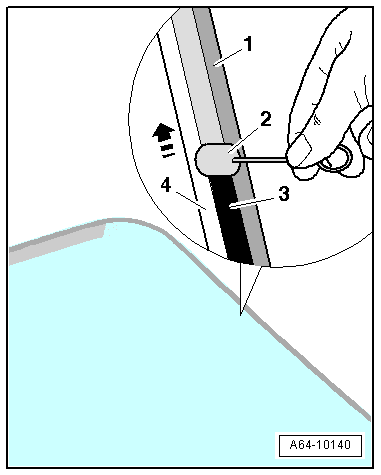
| Move right reel over left reel, as shown, and completely cut out window. |
| –
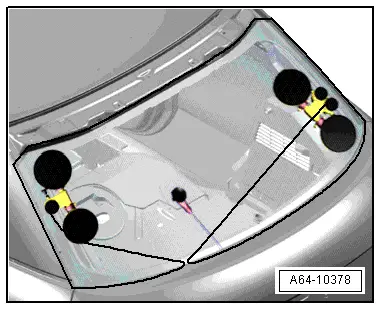
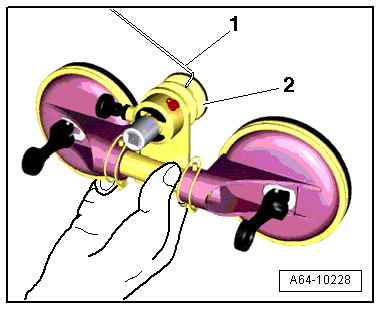
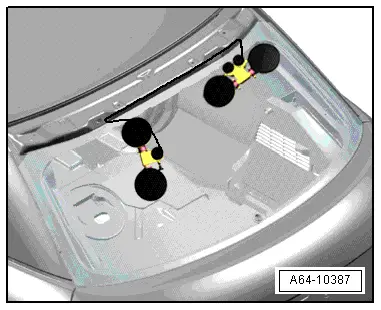
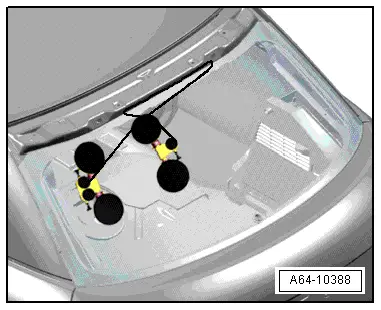
| Lift window out of rear lid using suction lifters. |
| Removing damaged rear window |

WARNING | Always wear safety goggles and leather gloves when removing window. |
|
| –
| Protect body and interior against damage from glass splinters. |
| –
| Remove glass fragments down to adhesive sealant. |
| –
| Unplug electrical connectors for heated rear window and window aerial. |
| –
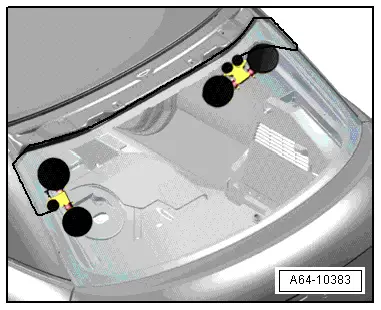
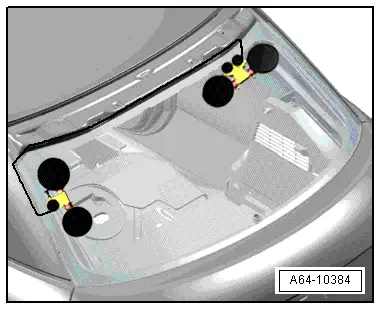
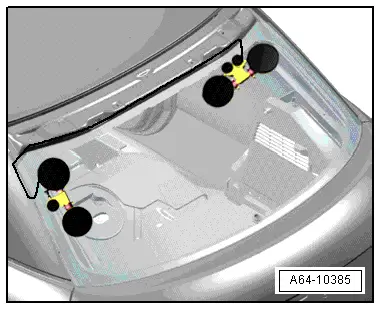
| Mask flange all round with fabric-reinforced adhesive tape. |
| –
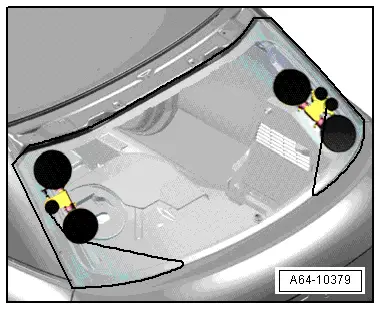
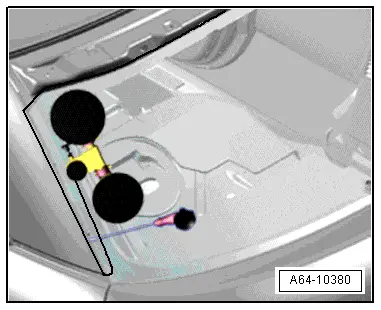
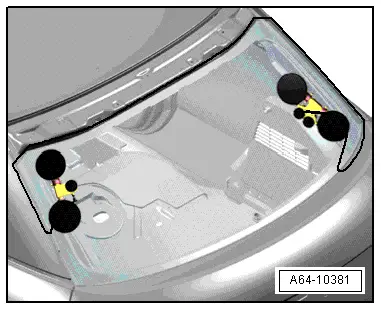
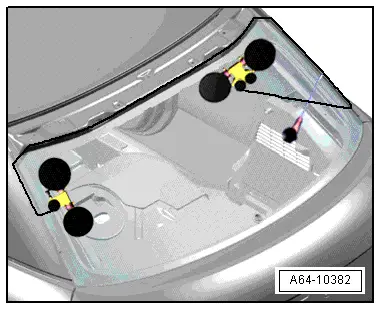
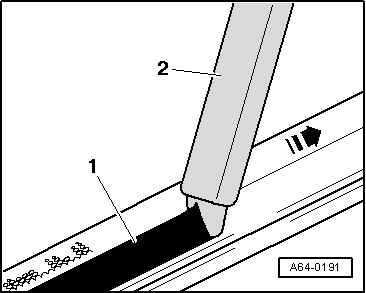
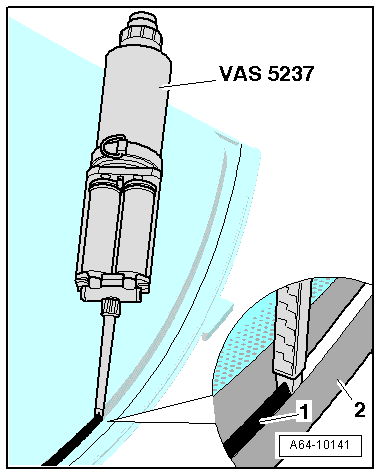
| Cut through adhesive sealant (with glass fragments) in window opening using electric cutter -V.A.G 1561A- and offset blade -V.A.G 1561/10- (with roller stop). |
| Preparations before installing rear window |

Note | t
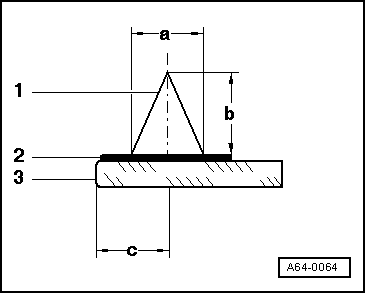
| Just before re-installing an undamaged window, use electric cutter -V.A.G 1561 A- and scraper (25 mm) -V.A.G 1561/8- to cut back the remaining adhesive sealant on the window and flange for an even surface, but do not remove completely. |
| t
| The remaining sealant is required as a base for better adhesion of the new adhesive sealant. |

Caution | t
| Keep bonding surface clean and free from grease. |
| t
| Do not cut back bonding surface until shortly before installation. |
| t
| Do NOT apply primer to bonding surface and do NOT use cleaning solution. |
|
| If installing a new window: |
| –
| Clean all around window bonding area with cleaning solution -D 009 401 04-. |
Caution | t
| The ceramic coating on the glass is not a primer. |
| t
| The glass must always be primed before applying adhesive sealant. |
|
| –
| Apply glass/paint primer -D 009 200 02- as described below. |
|
|
|