audi Workshop Repair Guides

Audi Workshop Service and Repair Manuals

Exploded view of sill panel trim > < Removing and installing operating lever for Bowden cable for front lid lock
Removing and installing lower A-pillar trim
Special tools and workshop equipment required
   
t  Removal wedge -3409-
  W00-0016
Removing
–  Unclip the sill panel trim in the front area from the lower A-pillar trim → Chapter.
–  Driver side: Remove the operating lever for the Bowden cable for the front lid lock → Chapter and screw out the bolt -1- for the lower A-pillar trim.
–  Front passenger side: Unclip the lower A-pillar trim using the removal wedge -3409- from the A-pillar -arrow A-.
–  Pull out the lower A-pillar trim -2- to the rear -arrow B- and detach.
  A70-11448
Installing
Install in reverse order, paying attention to the following:
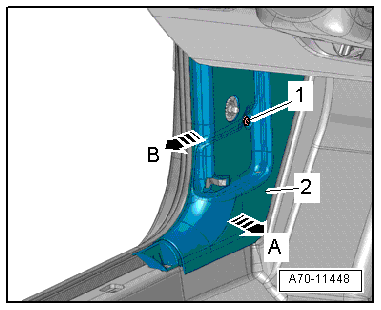
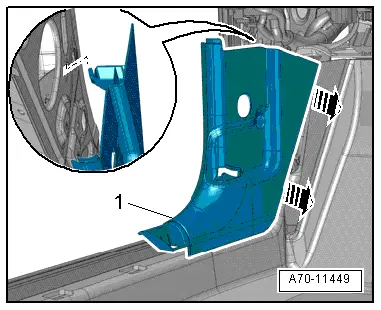
–  Engage the lower A-pillar trim -1- at the A-pillar and slide into the floor covering -arrows-.
–  Driver side: Engage the lower A-pillar trim at the mount for the operating lever.
–  Front passenger side: Clip in the lower A-pillar trim at the A-pillar.
–  Fold over the door seal lip.
Notes on installation: For example tightening torques, component replacement → Chapter.
  A70-11449

Exploded view of sill panel trim > < Removing and installing operating lever for Bowden cable for front lid lock