audi Workshop Repair Guides

Audi Workshop Service and Repair Manuals

Charge air cooler > < Adjusting vacuum unit for turbocharger
Removing and installing turbocharger
Special tools and workshop equipment required
   
t  Hose clamps for hoses up to 25 mm -3094-
  W00-0079
t  
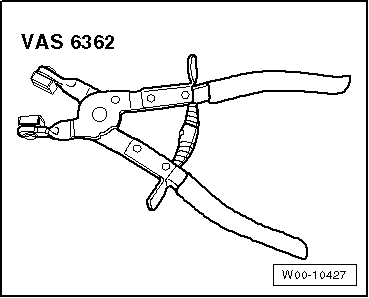
Hose clip pliers -VAS 6362-
Removing
  Caution
If the turbocharger has suffered mechanical damage (e.g. damaged compressor wheel), it is not sufficient merely to fit a new turbocharger. The following work must be performed in order to avoid further damage:
t  
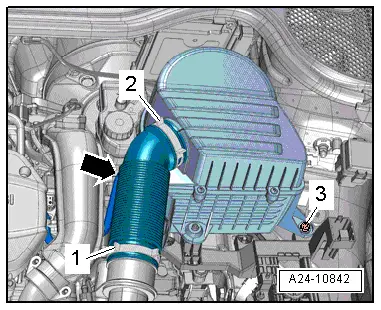
Check air cleaner housing, air filter element and air hoses for dirt and foreign particles.
t  
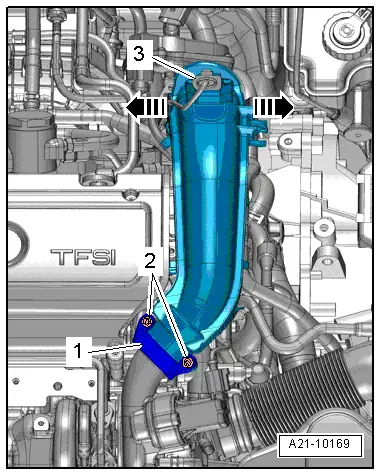
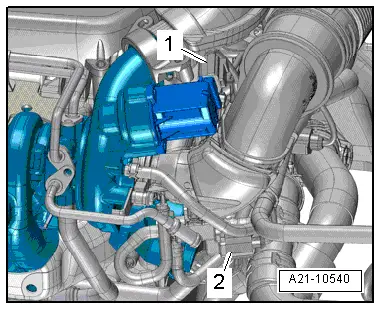
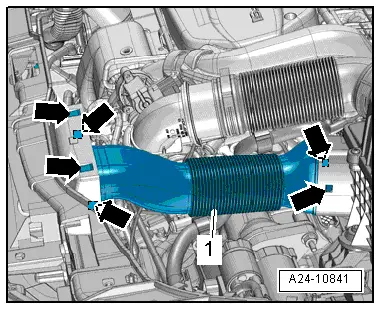
Check the entire charge air system (including the charge air cooler) for foreign matter.
t  
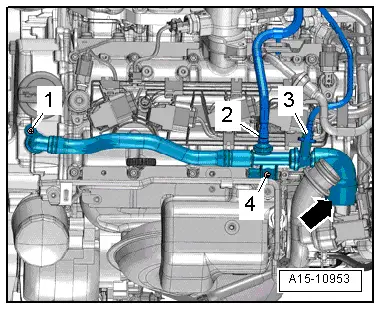
If foreign matter is found in the charge air system, clean all relevant ducts and hoses and renew charge air cooler if necessary.
  W00-10427
–  Disengage coolant hose -1- at engine cover panel.
–  Unscrew bolts -arrows- and remove engine cover panel.
–  Remove catalytic converter with centre silencer → Chapter.
  A10-11305
–  Release fasteners -arrows- and detach air duct -1-.
  A24-10841
–  Detach vacuum hose -arrow- from air hose.
–  Release hose clips -1 and 2- and remove air hose.
  Note
Disregard -item 3-.
  A24-10842
–  Unscrew bolts -2- and detach retaining bracket -1-.
–  Unplug electrical connector -3- at charge pressure sender -G31- / intake air temperature sender 2 -G299-.
–  Release retainers -arrows- and detach air pipe first from throttle valve module -J338- and then from turbocharger.
–  Move clear hoses at air pipe.
  A21-10169
–  Unplug electrical connector -1- on turbocharger air recirculation valve -N249- and -2- on charge pressure control solenoid valve -N75-.
  A21-10540
–  Remove bolt -4- and detach crankcase breather hose from turbocharger -arrow-.
  Note
Disregard -items 1, 2, 3-.
  A15-10953
–  Clamp off coolant hoses with hose clamps -3094- as shown in illustration.
–  Remove bolts -1, 3, 4, 5-.
  Note
Place a cloth underneath to catch escaping coolant.
–  Disconnect coolant lines from turbocharger and move clear to one side.
  Note
Disregard -item 2-.
  A21-10242
–  Remove banjo bolt -1- and bolts -2, 3- and detach oil supply line and retaining plate from turbocharger.
–  Detach retaining plate.
  Note
t  Do not attempt to bend oil supply line to a different shape.
t  Disregard -item 4-.
  A21-10243
–  Remove bolts -2- for oil return pipe (top).
  Note
Disregard -item 1-.
  A21-10170
–  Remove bolts -arrows- and detach heat shield.
  A21-10244
–  Remove nuts -arrows- and detach bracket -1- and turbocharger with exhaust manifold.
  Note
Seal off open pipes/lines and connections on turbocharger with clean plugs or protective caps to prevent dirt from entering.
Installing
Installation is carried out in the reverse order; note the following:
Tightening torques
l  → Chapter „Turbocharger - exploded view“.
l  → Chapter „Charge air cooler - exploded view“.
l  → Fig. „„Turbocharger - tightening torque and sequence““.
  Note
t  Renew seals, gaskets, O-rings and self-locking nuts.
t  Fill turbocharger with engine oil at connection for oil supply line.
t  Hose connections and hoses for charge air system must be free of oil and grease before assembly.
t  Secure all hose connections with the correct type of hose clips (same as original equipment) → Electronic parts catalogue.
t  After installing the turbocharger, allow the engine to idle for approx. 1 minute without pressing the accelerator to ensure that the turbocharger is supplied with oil.
–  Install air pipe → Chapter.
–  Install air hose → Rep. gr.24.
–  Install catalytic converter with centre silencer → Chapter.
–  Install engine cover panel → Fig..
–  Check oil level → Booklet819.
–  Check coolant level → Anchor.
  A21-10245

Charge air cooler > < Adjusting vacuum unit for turbocharger