audi Workshop Repair Guides

Audi Workshop Service and Repair Manuals

Adjusting vacuum unit for turbocharger > < Checking vacuum unit for turbocharger
Removing and installing vacuum unit for turbocharger
Special tools and workshop equipment required
   
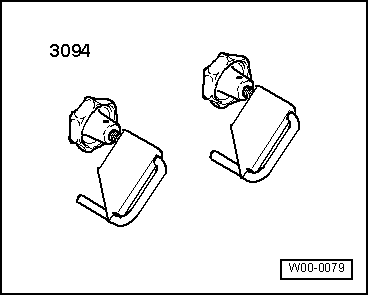
t  Hose clamps for hoses up to 25 mm -3094-
  W00-0079
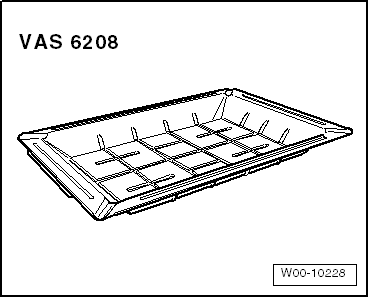
t  Drip tray for workshop hoist -VAS 6208-
  W00-10228
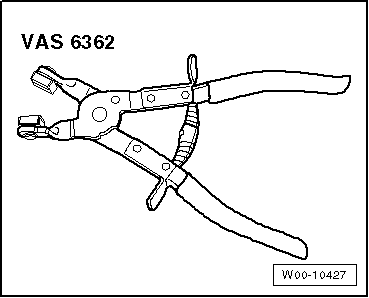
t  Hose clip pliers -VAS 6362-
  W00-10427
Removing
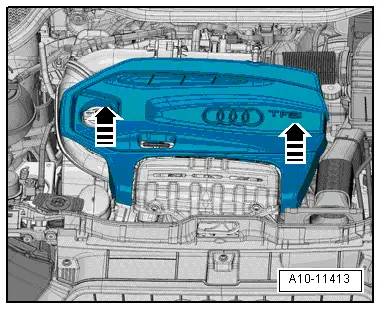
–  Pull off engine cover panel (front) -arrows- and remove towards front.
  A10-11413
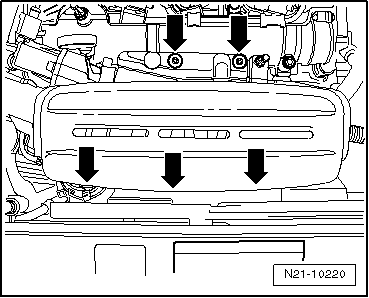
–  Remove bolts -arrows- and detach heat shield for turbocharger.
  N21-10220
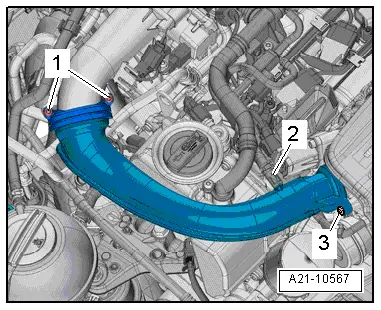
–  Remove bolts -1 and 3-.
–  Release hose clip -2-, detach air pipe (top right) and remove air hose.
  A21-10567
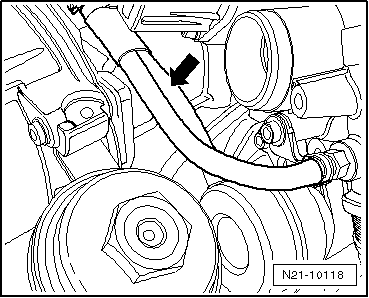
–  Disconnect hose -arrow- from vacuum unit.
  N21-10118
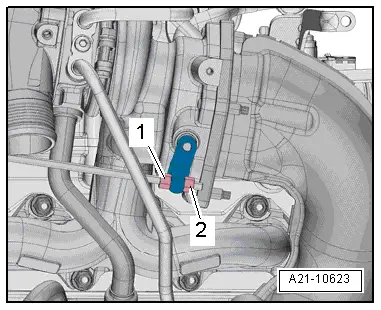
–  Remove nut -2-.
  Note
Disregard -item 1-.
  A21-10623
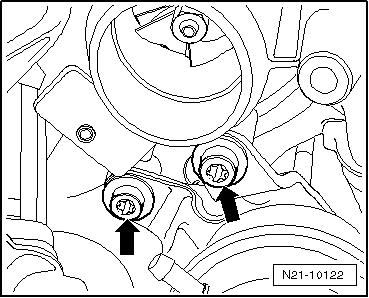
–  Remove bolts -arrows- and detach vacuum unit for turbocharger.
Installing
Installation is carried out in the reverse order; note the following:
l  Tightening torques → Chapter „Turbocharger - exploded view“
  Note
t  Renew retaining clip for operating rod.
t  Check correct installation of the vacuum unit and its operating rod.
–  Adjust vacuum unit for turbocharger → Chapter.
  N21-10122

Adjusting vacuum unit for turbocharger > < Checking vacuum unit for turbocharger