WARNING | When removing window glass, ALWAYS wear protective goggles and leather gloves. |
|
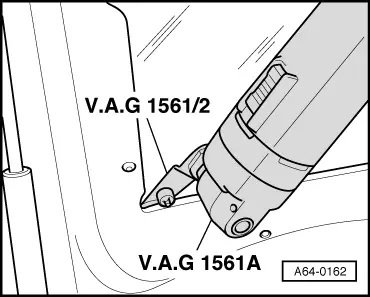
| –
| Mask area along bottom edge of window with fabric-backed adhesive tape to prevent damage to paintwork. |
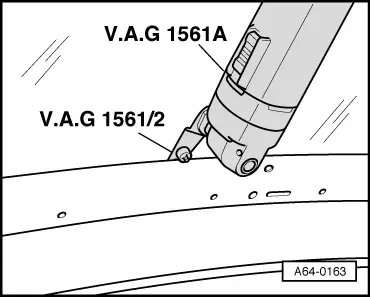
| –
| Also mask roof area along top edge of rear window with fabric-backed adhesive tape. |
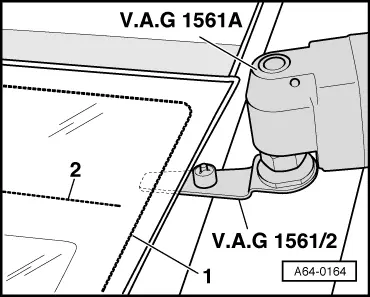
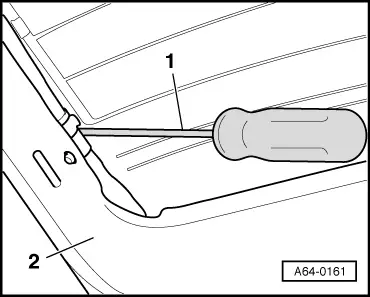
| –
| Unplug connectors for rear window heating and press connecting tabs onto window. |
|
|
|