audi Workshop Repair Guides

Audi Workshop Service and Repair Manuals

Fitting seals for individual wires > < Notes on repairing connector housings and electrical connectors
Repairing contacts in connector housings
   
Procedure
–  If applicable, start by opening or releasing secondary locking device on connector housing → Chapter.
–  Use appropriate release tool -A- to release connector (primary locking device) → Chapter.
–  Take hold of wire and pull connector towards rear and out of connector housing (if applicable with wire seal) -arrow-.
  A97-0084
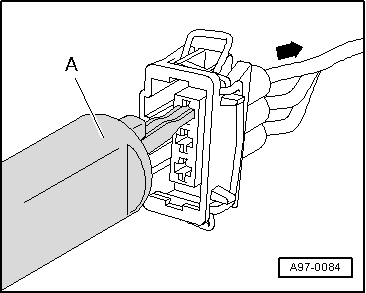
–  Cut old connector off original vehicle wiring harness (if applicable with wire seal).
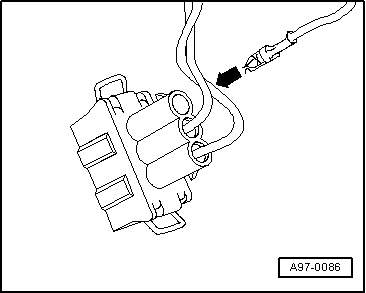
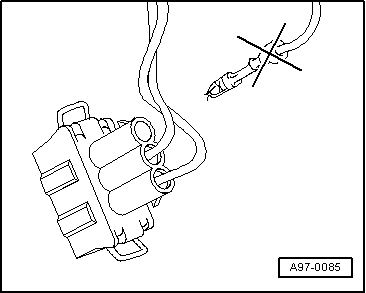
–  Take yellow repair wire with correct connector out of wiring harness repair set -VAS 1978 B-.
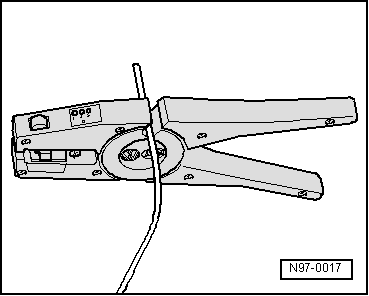
–  Release a length of approx. 20 cm of the defective wire on both sides of the repair joint.
  Caution
Risk of damage to electrical wiring.
Take care when releasing wiring from wrapped wiring harnesses.
–  If necessary, use a knife to remove wrapping of wiring harness.
  A97-0085
–  Slide connector of new repair wire into corresponding connector housing slot until it engages.
–  If applicable, attach wire seal to repair wire → Chapter.
  A97-0086
–  Use wire stripper -VAS 1978/3- to shorten repair wire and wire of original vehicle wiring harness as required.
–  Strip ends of repair wire and original vehicle wire and crimp stripped ends of repair wire and wire of original vehicle wiring harness using crimping pliers and a crimp connector → Chapter „Repairing a 0.25 mm2 wire with a single crimp connector“ or → Chapter „Repairing a wire of 0.35 mm2 section or thicker by connecting in an additional wire“.
  N97-0017

Fitting seals for individual wires > < Notes on repairing connector housings and electrical connectors