audi Workshop Repair Guides

Audi Workshop Service and Repair Manuals

Removing and installing intake manifold (bottom section) > < Intake manifold (bottom section) - exploded view
Removing and installing intake manifold
Special tools and workshop equipment required
   
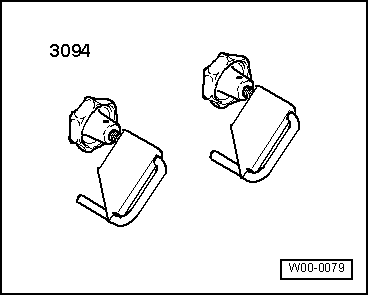
t  Hose clamps for hoses up to 25 mm -3094-
  W00-0079
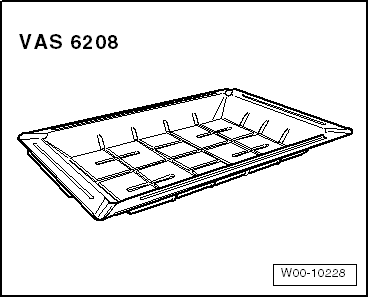
t  Drip tray for workshop hoist -VAS 6208-
  W00-10228
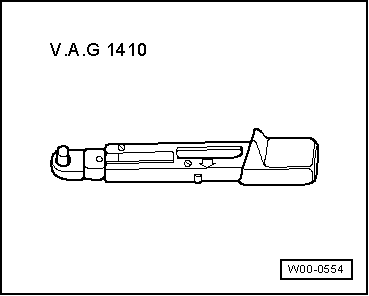
t  Torque wrench (4...20 Nm) -V.A.G 1410-
t  Hose clip pliers -V.A.G 1921-
Removing
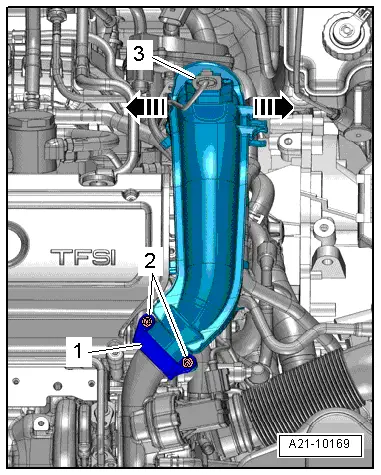
–  Unscrew bolts -2- and detach retaining bracket -1-.
  W00-0554
–  Unplug electrical connector -3- at charge pressure sender -G31- / intake air temperature sender 2 -G299-.
–  Release retainers -arrow- and detach pressure pipe first from throttle valve module -J338- and then from turbocharger.
–  Move hoses on pressure pipe clear.
  A21-10169
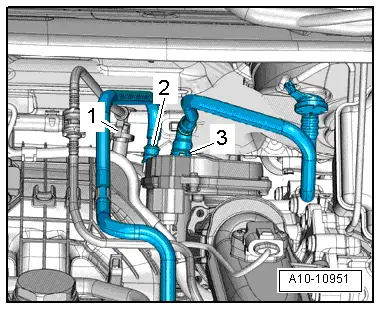
–  Press release tabs and disconnect vacuum line -1 and 3-.
–  Detach vacuum line -2-.
–  Place drip tray for workshop hoist -VAS 6208- beneath engine.
  A10-10951
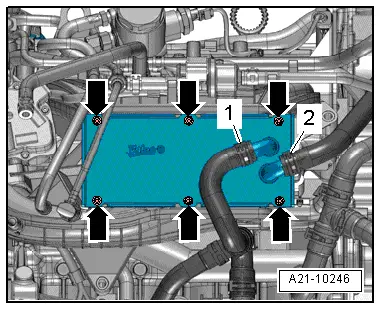
–  Use hose clamps up to 25 mm -3094- to clamp off coolant hoses -1 and 2- and detach coolant hoses from charge air cooler.
  Note
Arrows show securing bolts for charge air cooler. Disregard.
  A21-10246
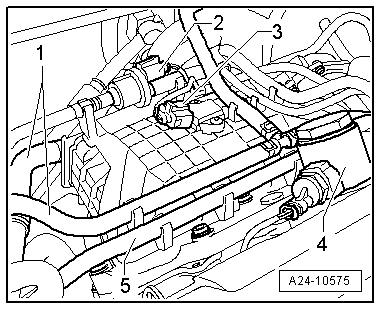
–  Unplug electrical connector at intake manifold pressure sender -G71--3-.
–  Move activated charcoal filter solenoid valve 1 -N80--2- clear to one side (do not disconnect hoses and electrical connector).
–  Move clear hoses -1 and 5- at intake manifold.
–  Unscrew bolts securing manifold.
–  Carefully remove intake manifold upwards.
Installing
–  Install in reverse order.
  Note
After installing intake manifold check coolant level, refer to engine - mechanics → Rep. gr.19.
  A24-10575

Removing and installing intake manifold (bottom section) > < Intake manifold (bottom section) - exploded view