audi Workshop Repair Guides

Audi Workshop Service and Repair Manuals

Stress-free alignment of exhaust system > < Removing and installing front exhaust pipe
Removing and installing catalytic converter
Removing
   
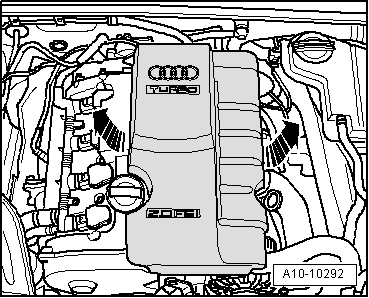
–  Pull off engine cover panel -arrows-.
  A10-10292
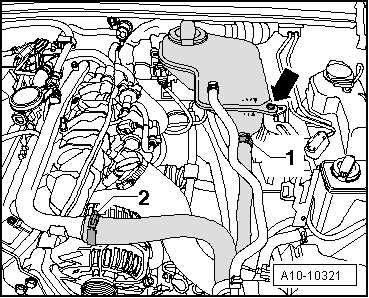
–  Detach coolant expansion tank -arrow- and lay it aside with hoses connected.
  A10-10321
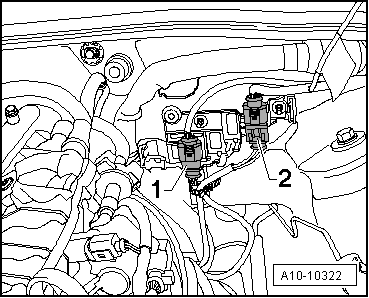
–  Unplug electrical connector -1- for Lambda probe after catalytic converter -G130- and Lambda probe 1 heater, after catalytic converter -Z29- (brown connector) and move electric wiring to catalytic converter clear.
–  Unplug electrical connector -2- for Lambda probe -G39- and Lambda probe heater -Z19- (black connector) and move electric wiring to catalytic converter clear.
  A10-10322
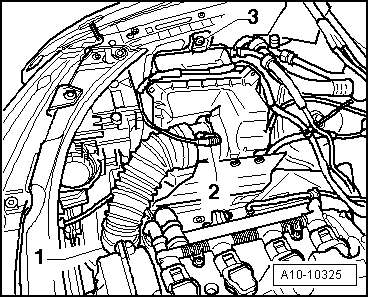
–  Detach intake hose -1- (air cleaner/turbocharger).
–  Unplug electrical connector -2- at air mass meter -G70-.
–  Move clear wiring harness at air cleaner housing and remove air cleaner housing -3-.
  Note
Do not bend the flexible joint (de-coupling element) in the exhaust system more than 10°, otherwise it could be damaged.
  A10-10325
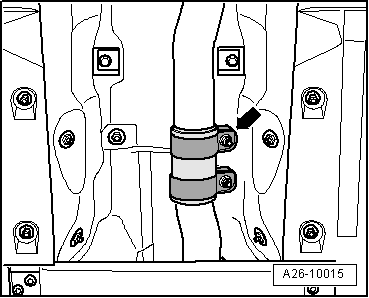
–  Loosen clamp -arrow- and push to rear.
  A26-10015
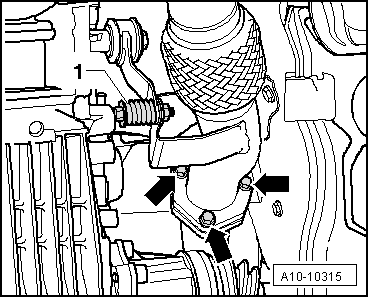
–  Detach front exhaust pipe/catalytic converter -arrows-.
–  Remove bolt -1- on bracket for front exhaust pipe and then detach front exhaust pipe.
  A10-10315
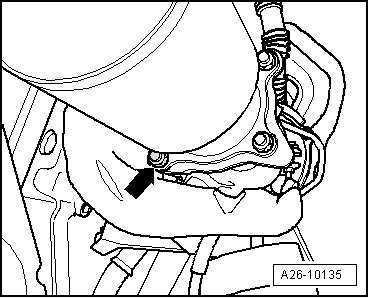
–  Unscrew nut -arrow- securing catalytic converter and turbocharger from below.
  A26-10135
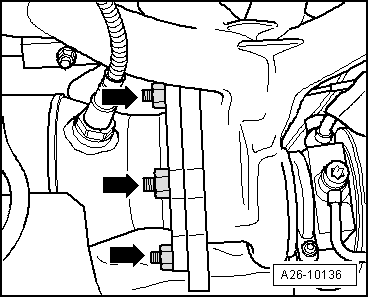
–  Unscrew nuts -arrows- securing catalytic converter and turbocharger from above.
–  Lift out catalytic converter.
Installing
Installation is carried out in the reverse order; note the following:
l  Tightening torques → Chapter „Silencers - exploded view“
  Note
Renew gaskets and self-locking nuts.
–  Align the exhaust system so it is free of stress → Chapter.
  A26-10136

Stress-free alignment of exhaust system > < Removing and installing front exhaust pipe