audi Workshop Repair Guides

Audi Workshop Service and Repair Manuals

Auxiliary drives - exploded view > < Drive chain for auxiliary drives - exploded view
Removing and installing drive chain for auxiliary drives
Special tools and workshop equipment required
   
t  Locking pin -3242-
  W00-0293
t  Locking pin -T40071-
Removing
l  Engine separated from gearbox → Chapter, engine attached to scissor-type assembly platform -VAS 6131 A- or secured to engine and gearbox support → Chapter.
l  Engine oil drained → Booklet803 or → Booklet805.
–  Remove clutch pressure plate → Rep. Gr.30.
–  Remove dual-mass flywheel → Chapter.
–  Remove timing chain covers (left and right) → Chapter.
–  Remove intake manifold → Rep. Gr.24.
–  Remove oil filter housing → Chapter.
–  Remove timing chain cover (bottom) → Chapter.
  W00-10238
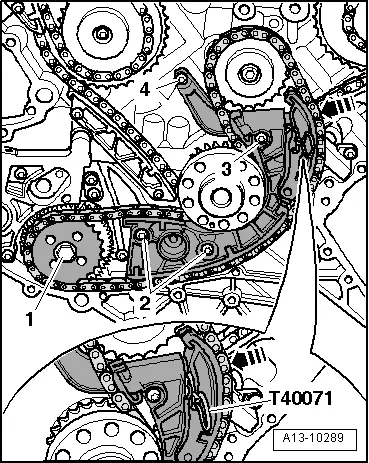
–  Mark running direction of drive chain for auxiliary drives with paint.
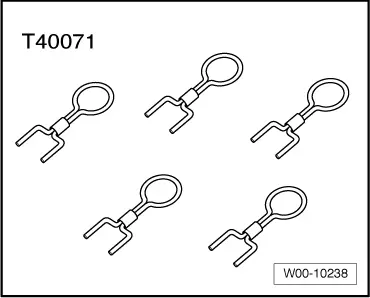
–  Press tensioning rail in direction of -arrow- and lock chain tensioner by inserting locking pin -T40071-.
–  Unscrew bolt -1- and remove drive chain sprocket for auxiliary drives.
  Note
Pay attention to spring in shaft for drive spur gear when removing.
–  Unscrew bolts -2 … 4- and remove chain tensioner.
–  Remove drive chain for auxiliary drives.
Installing
Installation is carried out in the reverse order; note the following:
  Note
Renew seal.
–  Install timing chain cover (bottom) → Chapter.
–  Install crankshaft oil seal (gearbox end) → Chapter.
–  Install oil filter housing → Chapter.
–  Install intake manifold → Rep. Gr.24.
–  Install timing chain covers (left and right) → Chapter.
–  Install dual-mass flywheel → Chapter.
–  Install clutch pressure plate → Rep. Gr.30.
–  After installing engine, fill up with engine oil and check oil level → Booklet803 or → Booklet805.
Tightening torques → Chapter
  A13-10289

Auxiliary drives - exploded view > < Drive chain for auxiliary drives - exploded view