| –
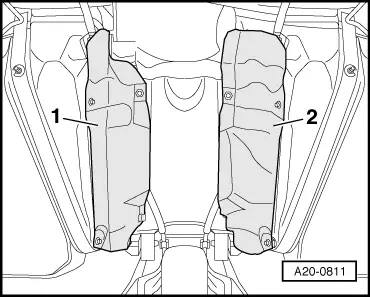
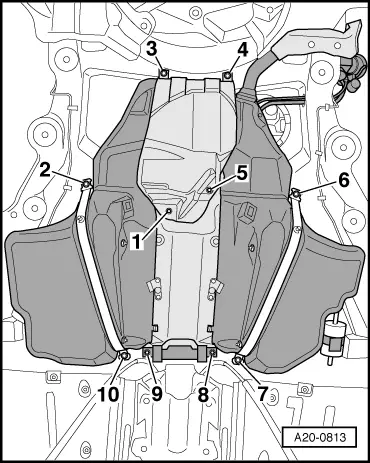
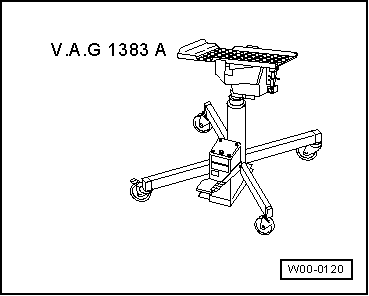
| Position the fuel tank with securing straps and support bracket on underbody, using the engine and gearbox jack -V.A.G 1383 A-. |
| –
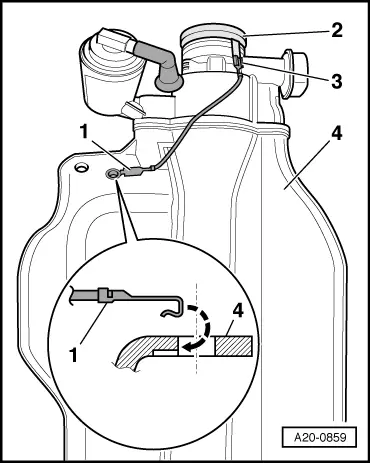
| When installing fuel tank, make sure that the fuel filler neck is correctly inserted into the opening on the body. |
| –
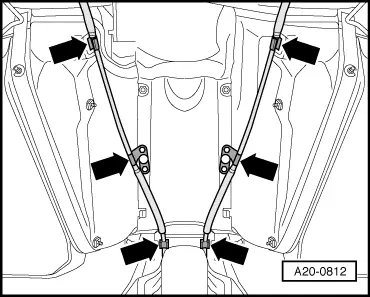
| Tighten bolts for securing straps and support bracket -1 ... 10-. |
| –
| Secure fuel filler neck. |

Caution | After installation, use an ohmmeter to check the electrical connection between the metal ring on the fuel filler neck and a bare metal part on the body: |
| Specification: approx. 0 Ω. |
|
| –
| Install rear right wheel housing liner and tighten securing bolt for fuel filler neck → Rep. Gr.66. |
| Vehicles with auxiliary heater: |
| –
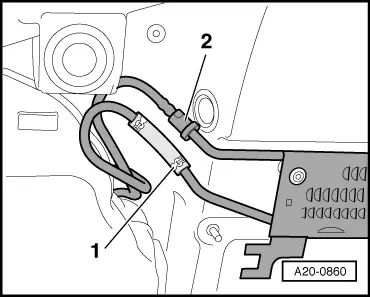
| Let auxiliary heater run with full load for 10 minutes to bleed fuel supply pipe going to metering pump. |
|
|
|


 Note
Note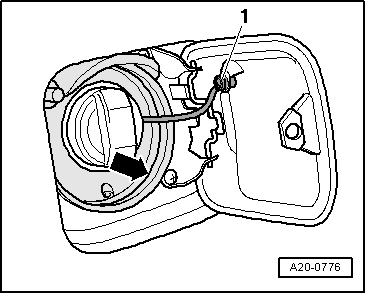
 WARNING