
A4 Cabriolet Mk2
|
|
|
 Caution
|
|
|
|
 Note
Note
|
|
Note
|
|
|
|
 WARNING
|
|
|
|
|
|
|

|
|
|
|
|
|
|
Note
|
|
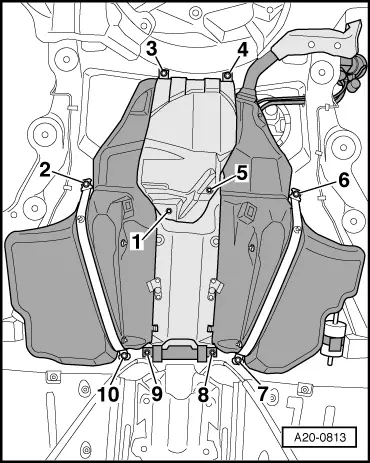
| Component | Nm |
| Securing straps and support bracket for fuel tank to body | 23 |
| Fuel filler neck to wheel housing | 23 |
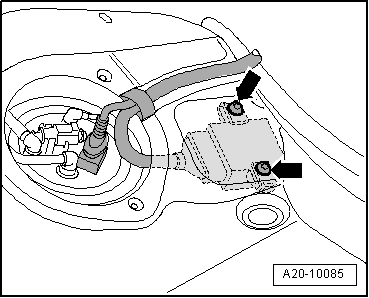
| Fuel pump control unit -J538- to underbody | 2.5 |