
A4 Cabriolet Mk2
| Removing and installing high-pressure pump - vehicles from 09.2005 onwards |
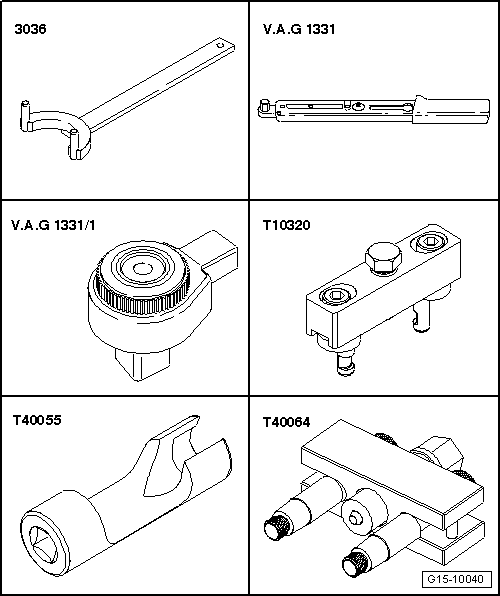
| Special tools and workshop equipment required |
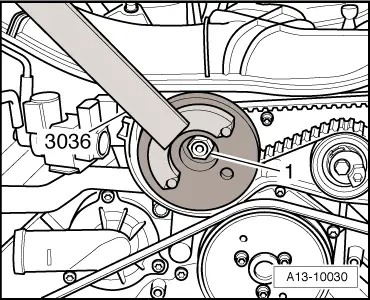
| t | Counterhold tool -3036- |
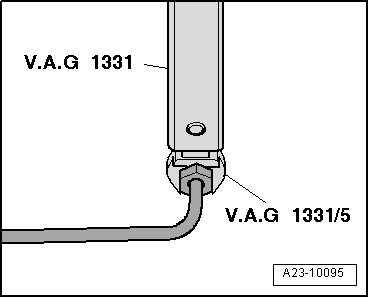
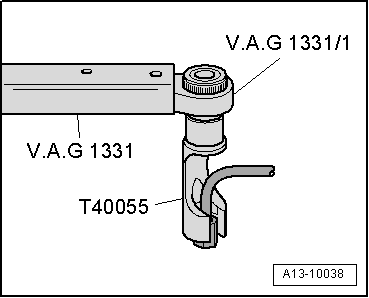
| t | Torque wrench -V.A.G 1331- |
| t | Ratchet -V.A.G 1331/1- |
| t | Puller -T10320- |
| t | Socket -T40055- (17 mm) |
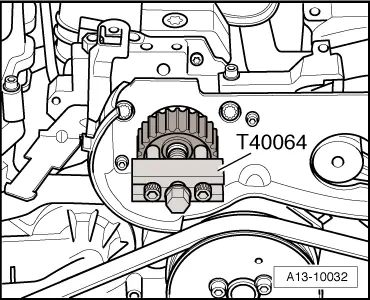
| t | Puller -T40064- |
|
 WARNING
|
|
|
|
|
|
|
|
|
|
 Note
Note
|
|
 Caution
|
|
|
|
| Component | Nm | |
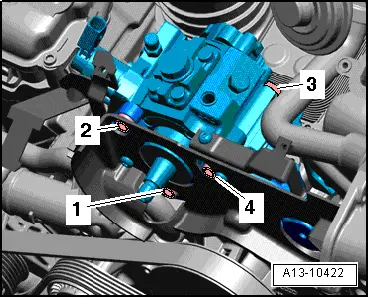
| Front bracket to high-pressure pump | 23 | |
| High-pressure pump with front bracket to bracket (rear) | 23 | |
| High-pressure pump with front bracket to engine | M6 | 9 |
| M8 | 23 | |
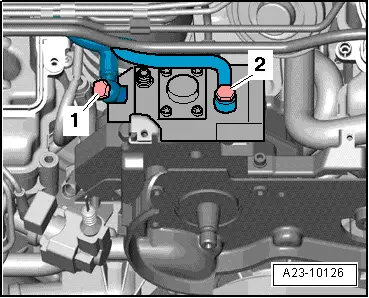
| Fuel supply and return lines to high-pressure pump | 25 | |
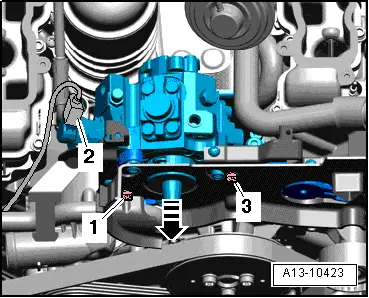
| Toothed belt cover (rear) to engine | 9 | |
| Damper weight to high-pressure pump | 70 | |
| Toothed belt drive sprocket to camshaft | 75 | |
| High-pressure pipes | 25 | |