audi Workshop Repair Guides

Audi Workshop Service and Repair Manuals

Ribbed belt drive for vane pump, alternator, coolant pump and viscous fan > < Dismantling and assembling engine
4-cylinder Diesel Direct Injection Engine (TDI), Mechanics
Dismantling and assembling engine
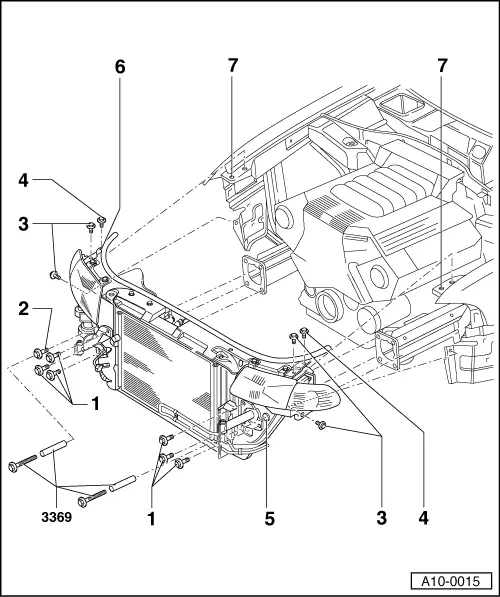
Lock carrier: move into service position

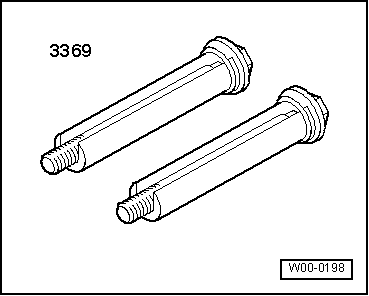
Special tools, testers and auxiliary equipment required

 
W00-0198
  • ◆ Special tool 3369
 
A10-0015
  • 45 Nm
  • 45 Nm
  • 10 Nm
  • 10 Nm
  • Bore
    • ◆ For special tool 3369
  • Hole in lock carrier
  • Bore in wing panel
 
A10-0015
  • ‒ Remove front bumper:

=> General body repairs; Repair group 63; Front bumper; Removing and installing front bumper

  • ‒ Remove front noise insulation => Fig.1
  • ‒ Detach bottom air intake hose to charge air cooler => Fig.2
  • ‒ Unbolt air duct between lock carrier and air cleaner (air duct is bolted to lock carrier).
  • ‒ Remove retaining clips (if fitted) for wiring loom on left at radiator shroud.
  • ‒ Remove bolt -2- on the right and screw in special tool 3369.
 
A10-0015
  • ‒ Screw special tool 3369 into hole -5- (left).
  • ‒ Remove bolts -1- and -3-.
  • ‒ Remove bolts -4- and pull the whole lock carrier out as far as it will go.
  • ‒ Secure the lock carrier with suitable M6 bolts in hole -6- (lock carrier) and hole -7- (wing panel).
  • ‒ When lock carrier has been installed, check that the wiring next to the radiator is correctly routed.
  • ‒ Install front bumper.

=> General body repairs; Repair group 63; Front bumper; Removing and installing front bumper

 
N02-0130

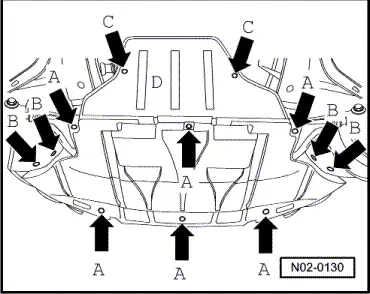
→ Fig.1    Remove front noise insulation

  • ‒ Release quick-release fasteners -A- and -B- and take off front noise insulation.

 
A10-0349

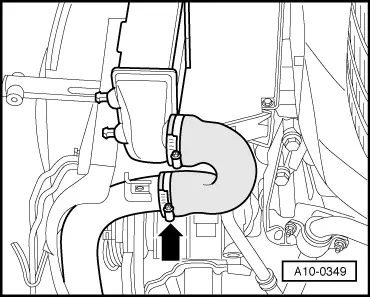
→ Fig.2    Remove air intake hose

  • ‒ Disconnect right air intake hose to turbocharger at bottom of lock carrier.

Ribbed belt drive for vane pump, alternator, coolant pump and viscous fan > < Dismantling and assembling engine