A4 Mk1
 Note
Note
|
|
|
|
|
Note
Note
|
|
|
|
| Component | Nm | |
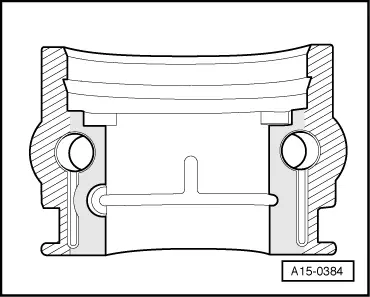
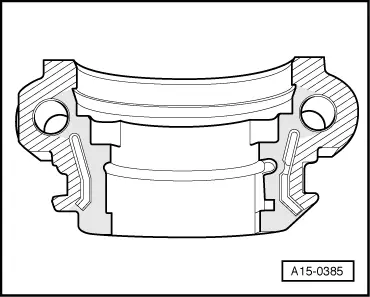
| Bearing cap to cylinder head | Cap nut | 15 |
| Nut | 10 | |
| Bolt | 10 | |
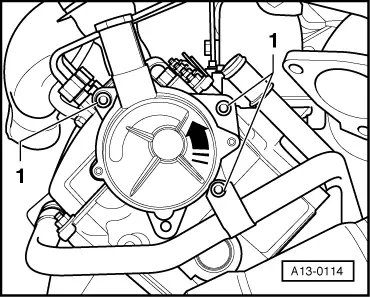
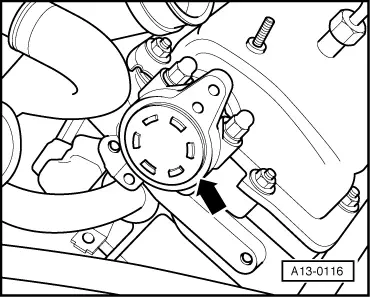
| Exhauster pump to cylinder head | 10 | |

Note
|
|
|
|
|
Note
Note
|
|
|
|
| Component | Nm | |
| Bearing cap to cylinder head | Cap nut | 15 |
| Nut | 10 | |
| Bolt | 10 | |
| Exhauster pump to cylinder head | 10 | |