audi Workshop Repair Guides

Audi Workshop Service and Repair Manuals

Removing and installing sump (top section) > < Checking chain tensioner for oil pump
Removing and installing drive chain and chain tensioner for oil pump
Special tools and workshop equipment required
   
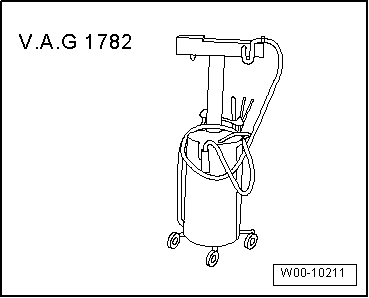
t  Used oil collection and extraction unit -V.A.G 1782-
  W00-10211
Removing
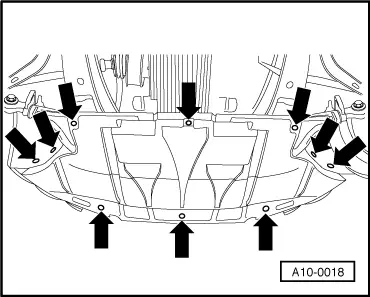
–  Remove noise insulation -arrows-.
–  Remove front bumper → Rep. Gr.63.
–  Move lock carrier to service position → Rep. Gr.50.
–  Remove toothed belt → Chapter.
–  Remove sump (bottom section) → Chapter.
–  Remove sealing flange (front) → Chapter.
–  Place used oil collection and extraction unit -V.A.G 1782- under engine.
  A10-0018
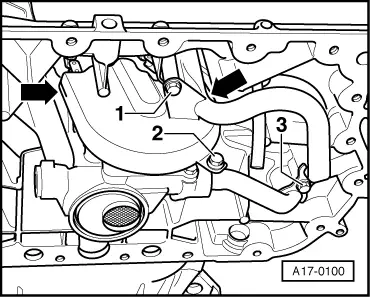
–  Remove bolt -2- (counterhold at welded-on nut).
–  Detach cover plate at the points indicated by -arrows-.
–  Remove bolts -1- and -3-.
–  Pull off the longer of the two oil pipes.
  A17-0100
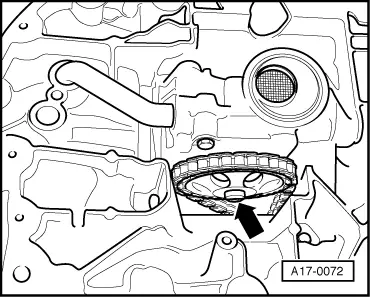
–  Unscrew bolt -arrow- and detach chain sprocket from oil pump.
–  Take chain sprocket out of chain.
–  Pull off chain tensioner.
–  Lift off chain.
Installing
Installation is carried out in the reverse order; note the following:
  Note
Renew O-rings.
l  Chain sprocket can only be fitted in one position on oil pump shaft.
–  Install sealing flange (front) → Chapter.
–  Install sump (bottom section) → Anchor.
–  Install toothed belt (adjust valve timing) → Anchor.
–  Install vibration damper → Chapter.
–  Install poly V-belt → Chapter.
–  Install viscous fan → Chapter.
–  Install lock carrier with attachments → Rep. Gr.50.
–  Install front bumper → Rep. Gr.63.
Tightening torques
  A17-0072
ComponentNm
Chain sprocket to oil pump shaft25
Bracket to sump (top section)10
Cover plate to rear cover plate10


Removing and installing sump (top section) > < Checking chain tensioner for oil pump