
A4 Mk1
|
|
|
|
|
|
|
|
|
|
|
 Note
Note
Note |
|
|
|
|
|
Note
|
|
Note
|

|
 Caution
|
|
|
|
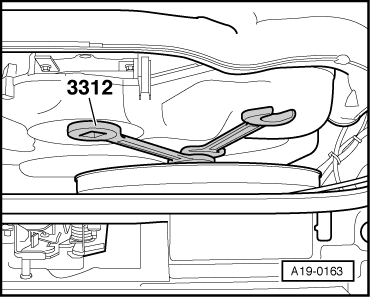
| Tightening torque for viscous fan | Nm |
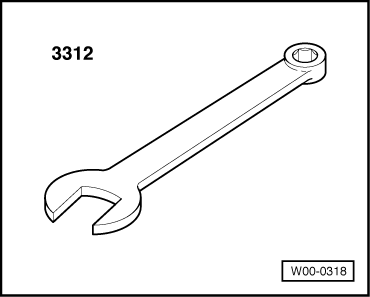
| Torque wrench -V.A.G 1331- and open-end spanner -3312- | 37 |
| Torque wrench -V.A.G 1331- without open-end spanner -3312- | 70 |
|
|
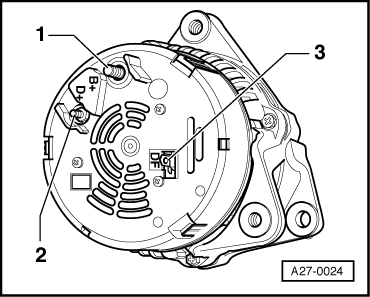
| Component | Nm | |
| Alternator to engine | M8 | 22 |
| M10 | 45 | |
| 30/B+ terminal to alternator | 16 | |
| D+ terminal to alternator | 4 | |
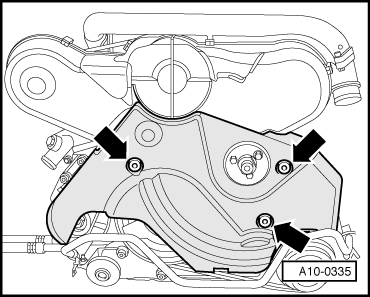
| Poly V-belt cover to bracket | 10 | |