Audi Workshop Service and Repair Manuals
HOME
FEATURES
MENU
INDEX
ABOUT US
Removing and installing A-pillar connector point (left-side) >
< Removing and installing 13-position relay carrier
A4 Mk1
Vehicle electrics
Electrical system
Wiring / Relay carriers, fuse holders
Removing and installing 8-position relay carrier
Removing and installing 8-position relay carrier
Removing and installing 8-position relay carrier
Removing
–
With ignition switched off, disconnect earth cable at battery
→ Chapter
.
–
Remove driver's storage compartment
→ Rep. Gr.68
.
–
Remove 13-position relay carrier
→ Chapter
.
–
Unscrew nut
-A-
and self-tapping screw
-B-
.
–
Unclip fuse holders from 8-position relay carrier.
–
Pull out relays or control units and then unclip corresponding relay carrier.
–
Pull 8-position relay carrier out of retainer.
Note
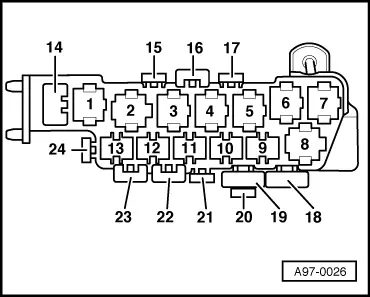
Exact assignment of 8-position relay carrier can be found in applicable current flow diagram
→ Current flow diagrams, Electrical fault finding and Fitting locations
.
Installing
Installation is carried out in the reverse order; note the following:
–
Install 13-position relay carrier
→ Chapter
.
–
Install driver's storage compartment
→ Rep. Gr.68
.
–
Connect battery. Additional steps required
→ Anchor
.
Tightening torque
Component
Nm
8-position relay carrier to retainer
2
Vehicle electrics
Electrical system
Wiring / Relay carriers, fuse holders
Removing and installing 8-position relay carrier
Removing and installing A-pillar connector point (left-side) >
< Removing and installing 13-position relay carrier
 Note
Note
 Note
Note