A4 Mk2
|
|
|
|
|
 Caution
|
|
 Note
Note
|

|
| Component | Nm | |||||||
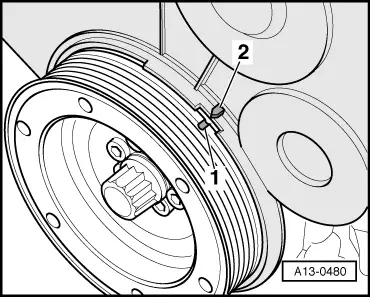
| Drive plate to crankshaft | ||||||||
| Bolt length 22.5 mm | 60 + 90° 1)2) | |||||||
| 35.0 mm | 60 + 180° 1)3) | |||||||
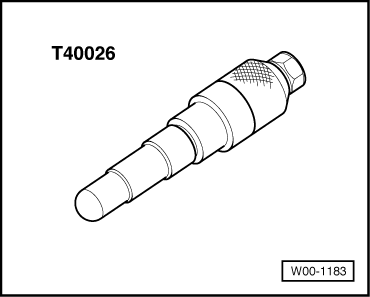
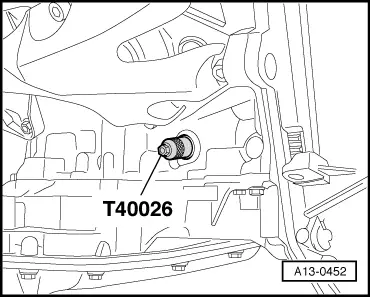
| Sealing plug in cylinder block | 25 | |||||||
| ||||||||

|
|
|
|
|
|
|
Note
|
|
| Component | Nm | |||||||
| Drive plate to crankshaft | ||||||||
| Bolt length 22.5 mm | 60 + 90° 1)2) | |||||||
| 35.0 mm | 60 + 180° 1)3) | |||||||
| Sealing plug in cylinder block | 25 | |||||||
| ||||||||