WARNING | Observe safety regulations for pyrotechnic components → Chapter. |
|
| –
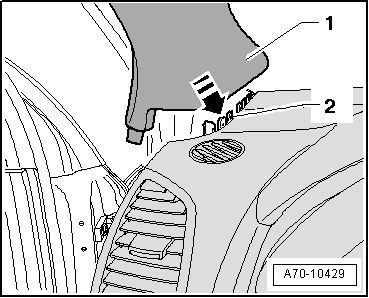
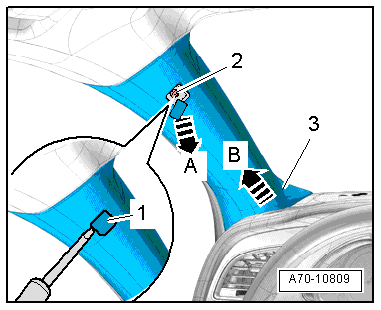
| Use a screwdriver to carefully unclip cap -1- with „airbag“ symbol from A-pillar trim (top). |
| –
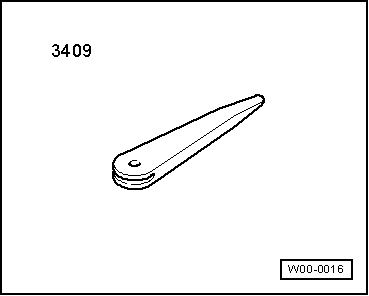
| Starting at top, carefully unclip A-pillar trim (top) -3- with removal wedge -3409--arrow A-. |
| –
| Pull A-pillar trim (top) out of dash panel -arrow B- and detach. |
WARNING | t
| Observe safety regulations for pyrotechnic components → Chapter. |
| t
| Take care not to trap curtain airbag when fitting A-pillar trim (top). |
|
| Installation is carried out in the reverse order; note the following: |

Note | t
| If there are still trim clips in the body mounting points, they must be removed and inserted in the trim when installing. |
| t
| Check the clips for damage or deformation and renew them if necessary. |
| –
| Use a thread tap to remove any residual locking fluid from threaded hole for bolt for A-pillar trim (top). |
Note | If the threaded hole is not cleaned, there would be a danger of the new bolt seizing when screwed in and shearing off if removed later. |
|
|
|