A4 Mk3
| Silencers - exploded view |

| 1 - | Gasket |
| q | Renew |
| 2 - | Particulate filter |
| q | With catalytic converter |
| q | With pressure line for exhaust gas pressure sensor 1 -G450- |
| q | Removing and installing → Chapter |
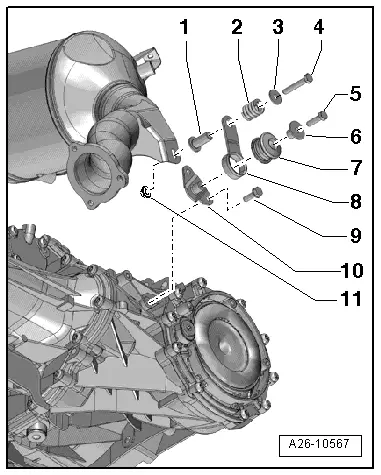
| q | Mounting components → Fig. |
| q | After renewing, perform Adaption in Guided Functions → Vehicle diagnostic tester |
| 3 - | Gasket |
| q | Renew |
| 4 - | Nut |
| q | Renew |
| q | 23 Nm |
| 5 - | Front exhaust pipe |
| q | With flexible joint; do not bend flexible joint more than 10° – otherwise it can be damaged |
| q | Protect against knocks and impact |
| q | Removing and installing → Chapter |
| q | Align exhaust system so it is free of stress → Chapter |
| 6 - | Clamp (front) |
| q | Before tightening, align exhaust system so it is free of stress → Chapter |
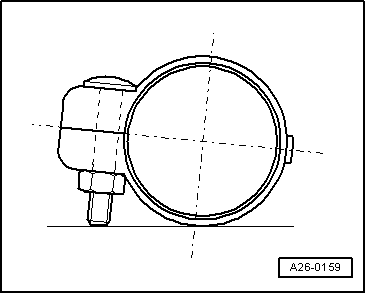
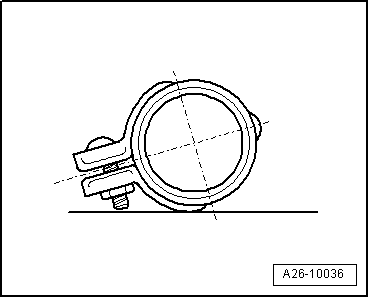
| q | Installation position → Fig. |
| q | Tighten bolt connections evenly |
| 7 - | Nut |
| q | 23 Nm |
| 8 - | Rear silencer |
| q | Combined as one unit with centre silencer and tailpipes as original equipment Can be renewed individually for repair purposes |
| q | Cutting point: centre silencer / rear silencer → Chapter |
| q | Renewing tailpipes → Chapter |
| q | Align exhaust system so it is free of stress → Chapter |
| 9 - | Mounting |
| q | Renew if damaged |
| q | Check preload → Chapter „Stress-free alignment of exhaust system“ |
| 10 - | Bolt |
| q | 20 Nm |
| 11 - | Rubber mounting |
| q | Renew if damaged |
| 12 - | Bracket |
| 13 - | Bolt |
| q | 23 Nm |
| 14 - | Tailpipe |
| q | Can be renewed separately for repair purposes → Chapter |
| 15 - | Clamp |
| 16 - | Nut |
| q | 23 Nm |
| 17 - | Clamp (rear) |
| q | For separate replacement of centre and rear silencers |
| q | Before tightening, align exhaust system so it is free of stress → Chapter |
| q | Installation position → Fig. |
| q | Tighten bolt connections evenly |
| 18 - | Centre silencer |
| q | Combined in one unit with rear silencers as original equipment. Can be renewed individually for repair purposes |
| q | Cutting point: centre silencer / rear silencer → Chapter |
| q | Align exhaust system so it is free of stress → Chapter |
| 19 - | Mounting |
| q | Renew if damaged |
| q | Check preload → Chapter „Stress-free alignment of exhaust system“ |
| 20 - | Bolt |
| q | 23 Nm |
| 21 - | Nut |
| q | 23 Nm |
| 22 - | Bracket |
| 23 - | Bolt |
| 24 - | Nut |
| q | Renew |
| q | Coat thread with high-temperature paste; for high-temperature paste refer to → Electronic parts catalogue |
| q | 23 Nm |
|

|
|

|
|

|
