audi Workshop Repair Guides

Audi Workshop Service and Repair Manuals

Removing and installing supercharger > < Supercharger - exploded view
Removing and installing charge pressure sender G31/G447
Removing and installing charge pressure sender -G31-/-G447-
Removing
   
Cylinder bank 1 (right-side) (version 2):
–  Remove bolts -arrows- and move bracket with fuel hose -1- clear to one side.
  A20-11042
Cylinder bank 2 (left-side):
–  Move clear vacuum hose -1-.
–  Remove bolts -arrows- and detach cover -2-.
  A21-10462
Continuation for both sides:
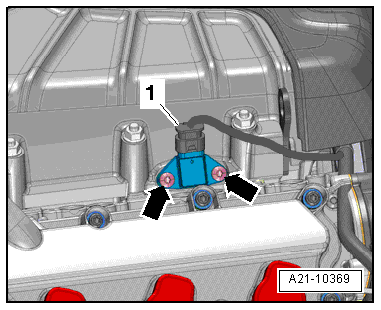
–  Unplug electrical connector -1-.
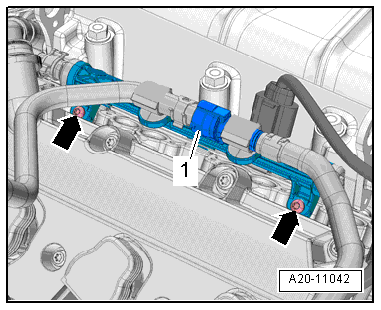
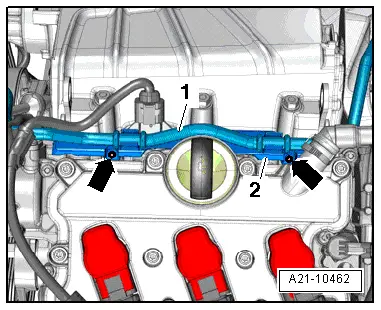
–  Unscrew bolts -arrows- and remove charge pressure sender.
Installing
Installation is carried out in the reverse order; note the following:
l  Tightening torques → Chapter „Supercharger - exploded view“
  Note
t  Renew self-locking bolts and O-ring.
t  Before assembly, always remove residues from threaded holes for charge pressure senders in supercharger housing using a thread tap.
  A21-10369

Removing and installing supercharger > < Supercharger - exploded view