| –
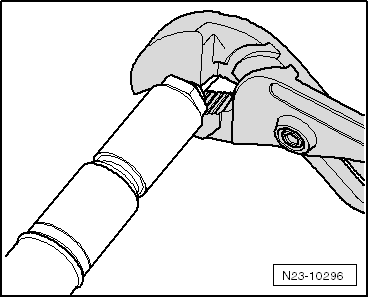
| To detach the old copper seal from the injector, clamp the copper seal carefully using pliers just tight enough to prevent it from turning. |
| –
| Then carefully pull and twist the injector out of the copper seal by hand. |
| –
| Remove deposits beneath the copper seal with a scraper. |

Caution | Risk of damage to injector sealing surface. |
| To remove carbon deposits from the injector sealing surface, clean the injector bore in the cylinder head with a cloth soaked in engine oil or rust solvent. |
|
| When installing new injectors, the following components must be renewed: |
| t
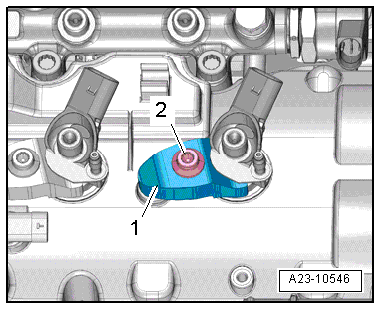
| Renew O-ring for injector bore. |
| t
| O-ring for fuel return line connection |
| l
| Lubricate all O-rings with engine oil or assembly oil before installing. |
| Continued (same procedure for used and new injectors): |
| –
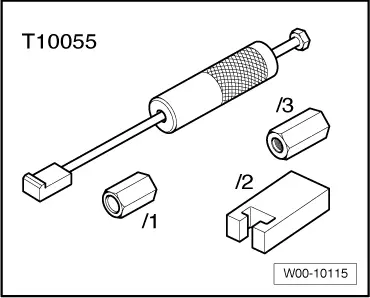
| Use a plastic bush to fit the new copper seal. |
| –
| Lubricate all O-rings with engine oil or assembly oil before installing. |
| –
| Fit new O-ring for injector bore. |
| Remaining installation steps are carried out in reverse sequence; note the following: |
| –
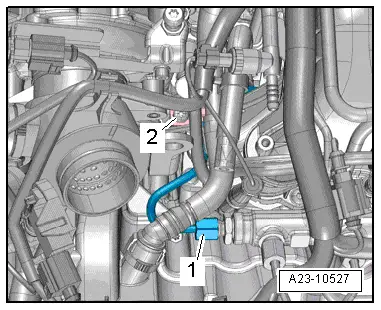
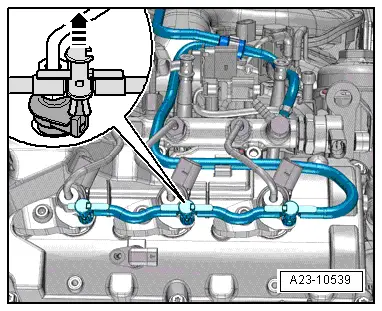
| Connect fuel return hoses. |
| After renewing one or more injectors, the „injector delivery calibration values“ and „injector voltage calibration values“ for the new injectors must be written into the engine control unit → Chapter. |
| Bleeding fuel system and checking for leaks |
| –
| Run engine at idling speed for several minutes (do not press accelerator) and then switch off. |

Note | The fuel system is self-bleeding; do not open the high-pressure connections. |
| –
| Carefully check the complete fuel system including all 6 return line connections for leaks. |
| Renew affected component if leakage still occurs after tightening to correct torque. |
| –
| After completing the repair, road-test the vehicle. Accelerate with full throttle at least once. Then inspect high-pressure section of fuel system again for leaks. |
Note | If there is any air left in the fuel system, the engine may switch to the backup mode ('emergency running' mode) during the road test. Switch off the engine and erase the event memory. Then continue the road test. |
| –
| Interrogate the event memory again after road-testing. |
|
|
|