audi Workshop Repair Guides

Audi Workshop Service and Repair Manuals

Repairing an 0.25 mm2 wire by connecting in an additional wire > < Repairing a 0.25 mm2 wire with a single crimp connector
Repairing a wire of 0.35 mm2 section or thicker with a single crimp connector
Procedure
–  Release a length of approx. 20 cm of the defective wire on both sides of the repair joint.
  Caution
Risk of damage to electrical wiring.
Take care when releasing wiring from wrapped wiring harnesses.
–  If necessary, use a knife to remove wrapping of wiring harness.
   
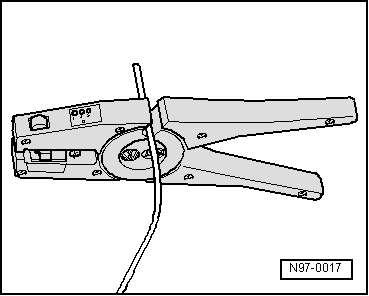
–  Use wire stripper -VAS 1978/3- to cut out damaged section of wiring.
  Note
If cutting out the damaged section of wiring makes the two ends of the original vehicle wire too short for repair with a single crimp connector, insert a corresponding length of repair wire with two crimp connectors → Chapter.
  N97-0017
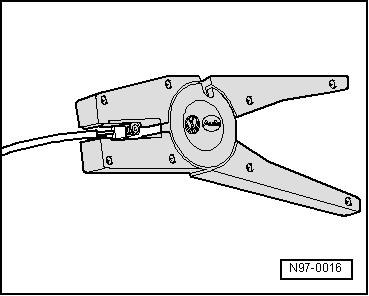
–  Set adjustable stop in jaws of wire stripper -VAS 1978/3- to 6 ... 7 mm (length to be stripped).
–  Working from the front, insert end of wire into jaws of wire stripper as far as it will go press stripper together completely.
–  Open wire stripper again and take out stripped end of wire.
–  For repair, take a suitable crimp connector out of the wiring harness repair set -VAS 1978 B-.
  N97-0016
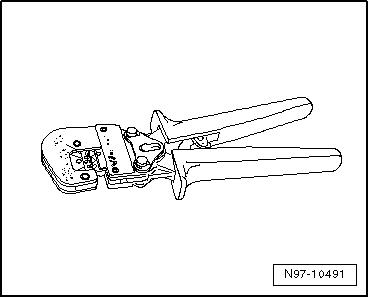
–  Use crimping pliers (base tool) -VAS 1978/1-2- for fitting crimp connectors.
The following head adapters are available for the crimping pliers (base tool) -VAS 1978/1-2-:
t  Head adapter 0.35 mm² - 2.5 mm² -VAS 1978/1-1-
t  Head adapter 4.0 - 6.0 mm² -VAS 1978/2 A-
  N97-10491
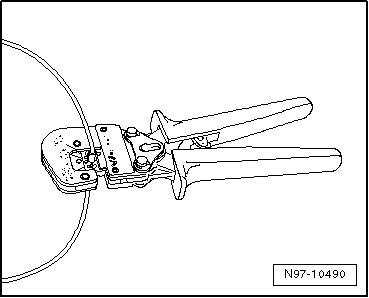
–  Slide crimp connector over two stripped ends of original vehicle wire and fasten with crimping pliers.
  Note
Take care not to crimp insulation of wire.
  N97-10490
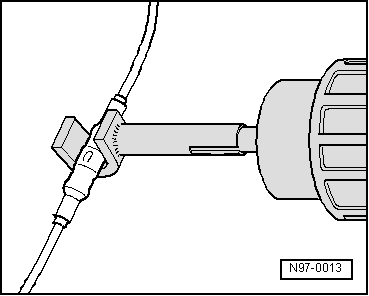
After crimping, hot air blower must be used to shrink-fit crimp connector to prevent moisture from ingressing.
–  Attach shrink element for hot air blower -VAS 1978/15A- to hot air blower, 220 V/ 50 Hz -VAS 1978/14A-.
  Caution
Risk of damage to surrounding components.
t  When shrinking crimp connectors, take care not to damage any other pipes/wires, plastic parts or insulating material with hot nozzle of the hot air blower.
t  Always observe operating instructions for hot air blower.
  N97-0013
–  Working from centre outwards, use hot air blower to heat crimp connector in longitudinal direction until it is completely sealed and adhesive emerges at ends.
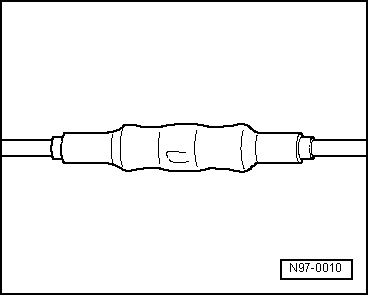
l  A wire repaired using a single crimp connector must look as shown in illustration.
  Note
  N97-0010
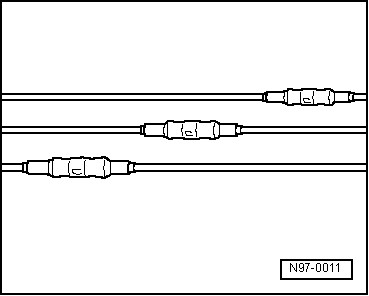
t  If several wires have to be repaired, make sure crimp connectors are not directly adjacent to one another. Offset the crimp connectors slightly to restrict the size of the wiring harness.
t  If the repair location was previously wrapped, yellow adhesive tape must be wrapped around this location again on completion of repair.
t  If necessary, secure the repaired wiring harness with a cable tie to prevent rattling noises when the vehicle is driven.
  N97-0011

Repairing an 0.25 mm2 wire by connecting in an additional wire > < Repairing a 0.25 mm2 wire with a single crimp connector