
1 Series E81 118i (N46T) 3-door
Important!
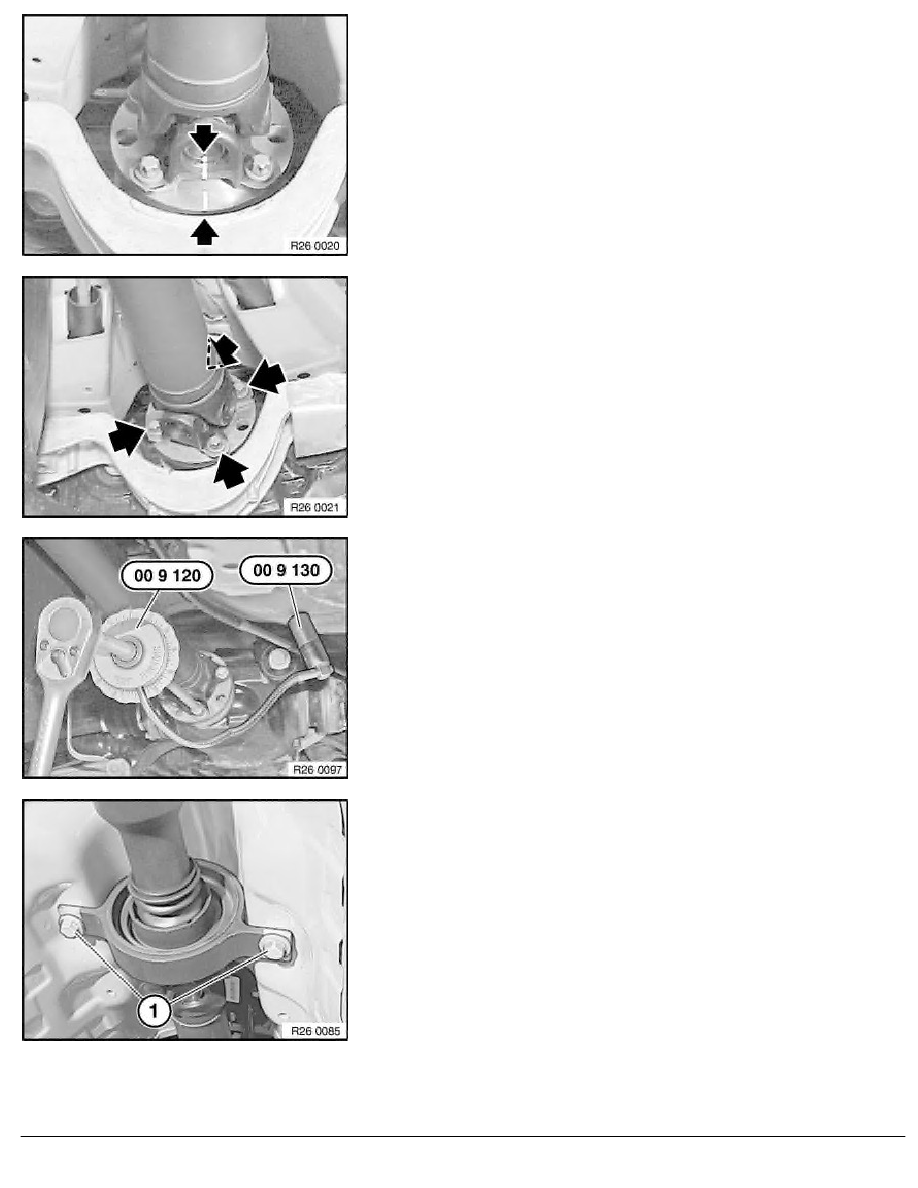
To avoid complaints of humming:
Before removing propeller shaft, mark cardan universal joint to
drive flange of rear differential.
Reinstall joint in accordance with marking.
Note:
Illustration similar
Release screws.
Installation:
Replace ZNS bolts.
Note:
Illustration similar
Tighten down screws/bolts to specified torque.
Secure special tool angle of rotation 00 9 120 with magnet
00 9 130 to underbody and continue bolting according to angle
of rotation.
Tightening torque: 26 11 4AZ
.
Grip propeller shaft at centre mount and release screws.
Tightening torque: 26 11 6AZ
.
Detach propeller shaft from transmission output flange and
remove towards bottom.
RA Removing and installing propeller shaft (cardan universal joint) completely
BMW AG - TIS
18.01.2013 21:31
Issue status (12/2007) Valid only until next DVD is issued
Copyright
Page - 2 -