
1 Series E81 130i (N52K) 3-door
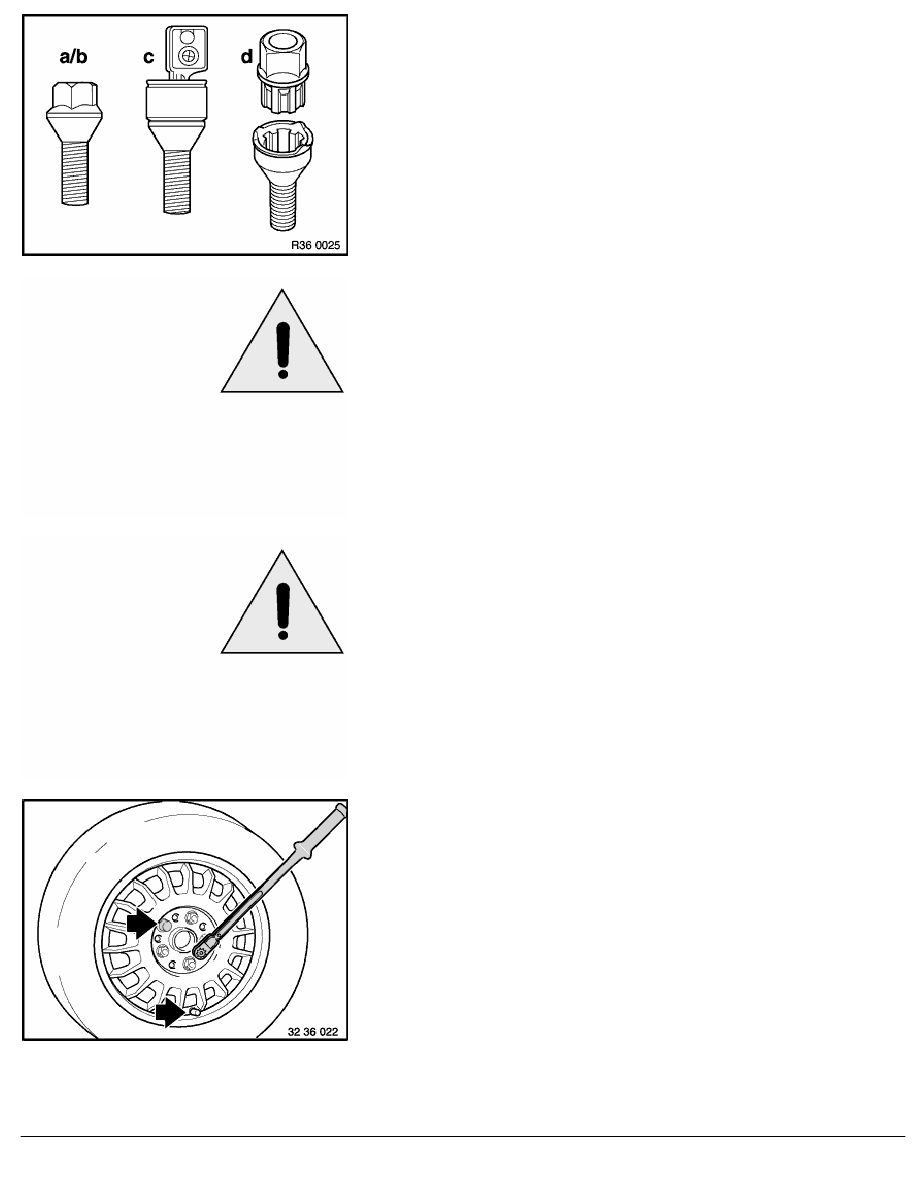
Wheel studs with taper:
a)
Wheel bolt - galvanised
b)
Wheel bolt - black chrome plated
c)
Wheel bolt - black chrome plated and lockable
d)
Lockable wheel stud with adapter, black chrome-plated
Note:
To release and tighten down lockable wheel stud, use a matching
adapter from special tool 36 1 300 .
Clean wheel bolts and check threads for damage, replace, if
necessary.
Replace rusty wheel bolts.
Important!
Do not apply oil to new wheel bolts.
Important!
You may use an impact or power screwdriver to insert the
wheel bolts and join the wheel until a tightening torque of
20 Nm is obtained.
Do not under any circumstances use an impact or power
screwdriver to tighten down the wheel bolts (in diagonal
sequence); this must be done by hand.
Important!
Disc wheel must rest uniformly against brake disc.
If the wheel bolts/rims are not BMW-original, it will be
necessary to retighten the wheel bolts on account of settling.
Fit wheel studs and evenly tighten crosswise by hand in order to
centre the disc wheel.
Tighten down wheel bolts in crosswise sequence with a calibrated
torque wrench to prescribed tightening torque.
Tightening torque 36 10 1AZ .
RA Removing or installing front or rear wheel
BMW AG - TIS
22.01.2013 06:11
Issue status (12/2007) Valid only until next DVD is issued
Copyright
Page - 3 -