
1 Series E81 130i (N52K) 3-door
51 12 050
Removing and installing/replacing carrier for
rear bumper trim
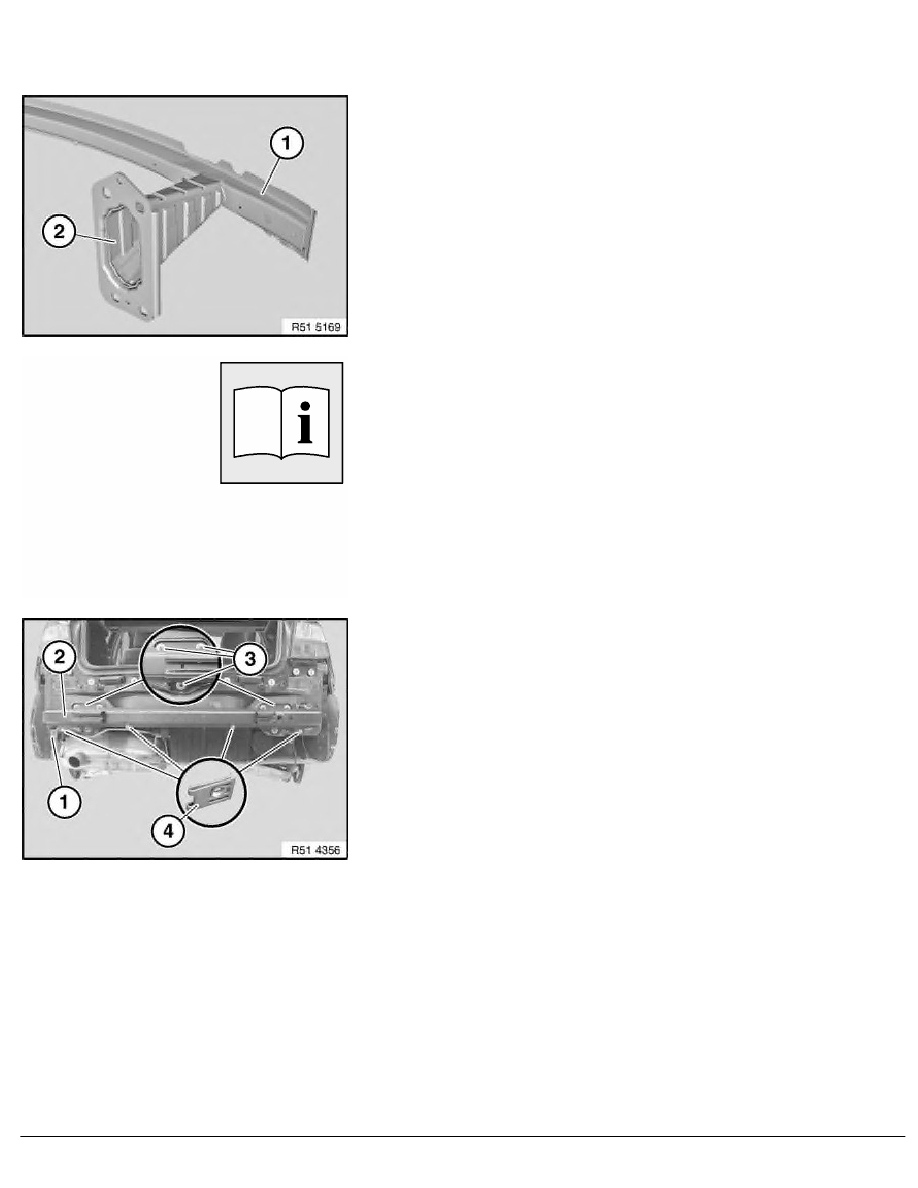
Important!
During replacement, all the cavities of the carrier (1) and the
crashbox (2) must be sealed with cavity sealant.
Necessary preliminary tasks:
•
Remove bumper trim
If necessary, release rubber mount (1) on carrier (2).
Unscrew nuts (3).
Remove carrier (2).
Tightening torque 51 12 1AZ
.
Installation:
If necessary, replace faulty sheet nuts (4).
Replacement:
If necessary, modify or replace weight on carrier (2).
RA Removing and installing/replacing carrier for rear bumper trim
BMW AG - TIS
22.01.2013 06:54
Issue status (12/2007) Valid only until next DVD is issued
Copyright
Page - 1 -