
1 Series E81 130i (N52K) 3-door
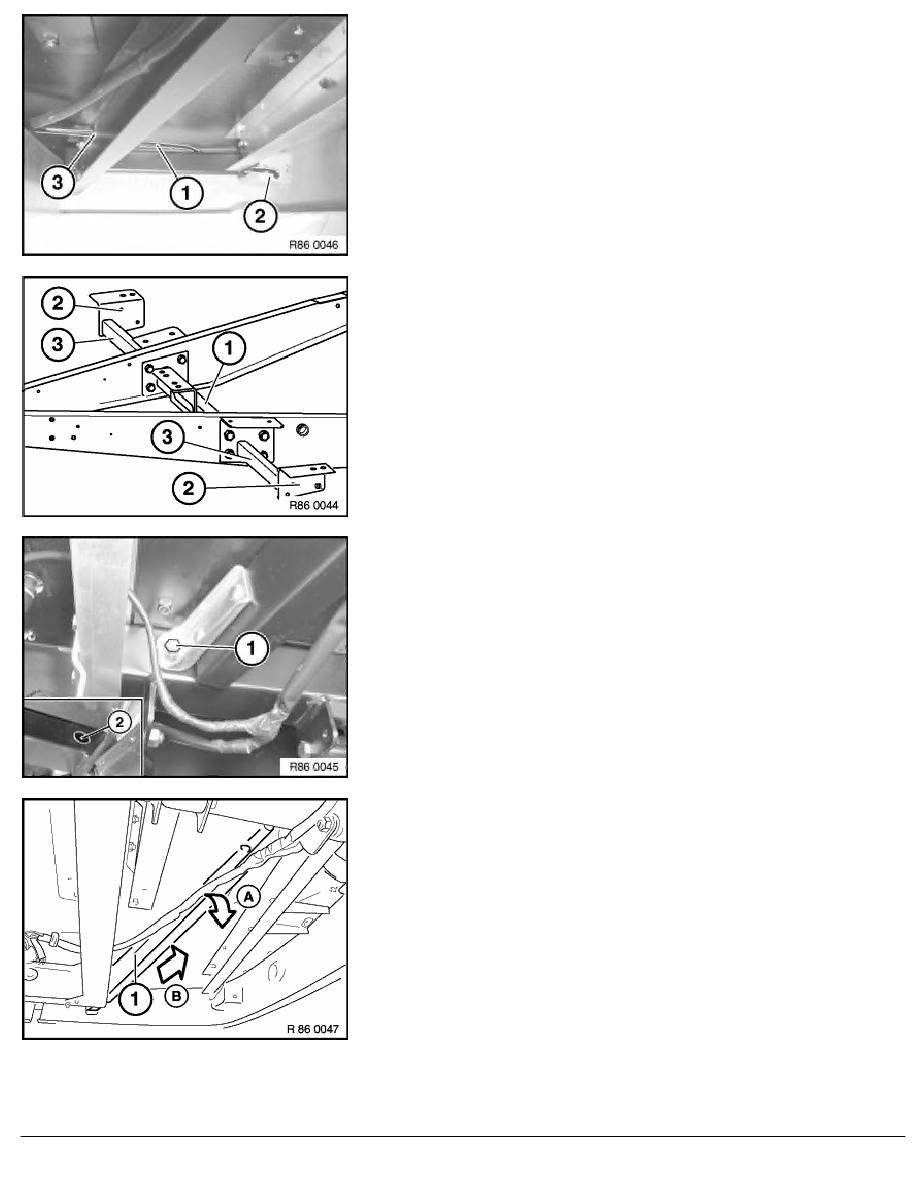
Remove cable (1) from position light housing (2). Pull out cable (1)
through drawbar member aperture (3).
Release all screws on cross-member (1) and remove cross-
member (1).
If necessary, release screws on mounting brackets (2) and
remove cross-members (3).
Installation:
Use new self-locking nuts.
Tightening Torque,
refer to Technical Data 86 10 17AZ.
Unscrew bolt (1). Grip nut from rear through assembly hole (2) in
cross-member.
Installation:
Use new self-locking nuts.
Tightening Torque,
refer to Technical Data 86 10 18AZ.
Tilt drawbar member (1) down in direction of arrow A and pull out
towards rear in direction of arrow B.
RA Replacing drawbar members, left and right
BMW AG - TIS
22.01.2013 10:36
Issue status (12/2007) Valid only until next DVD is issued
Copyright
Page - 2 -