
3 Series E36 318tds (M41) COMP
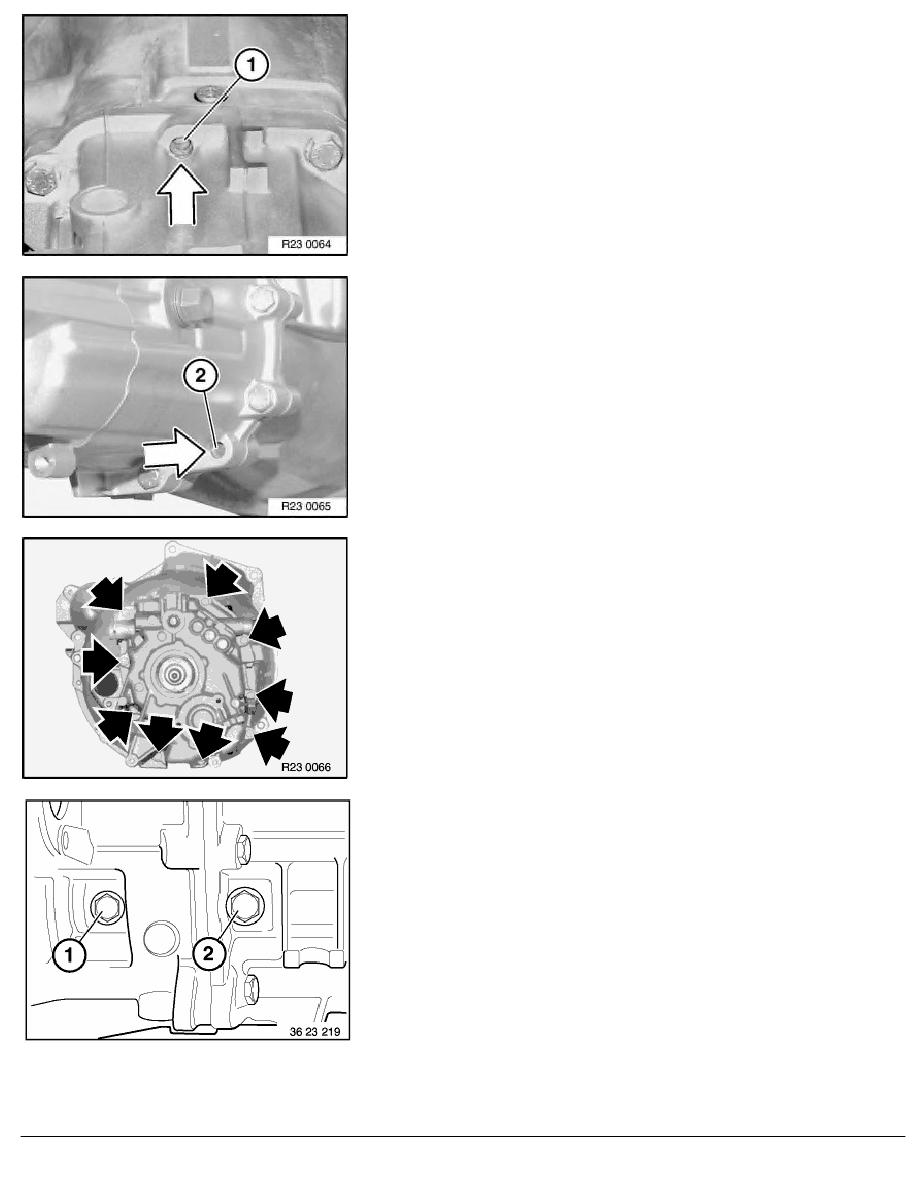
Drive in cotter pin (1).
Drive in cotter pin (2).
Screw in all case screws and tighten down.
Tightening torque,
refer to Technical Data 23 11 1AZ.
Loosen bolt (1).
Install screw (2) with Loctite 243 locking varnish.
Tighten the screws (1 and 2).
Tightening torque,
refer to Technical Data 23 11 6AZ.
RA Removing and installing/replacing complete input and output shafts (S5D 200G/ E3
BMW AG - TIS
06.02.2013 22:40
Issue status (12/2007) Valid only until next DVD is issued
Copyright
Page - 14 -