
3 Series E36 318tds (M41) SAL
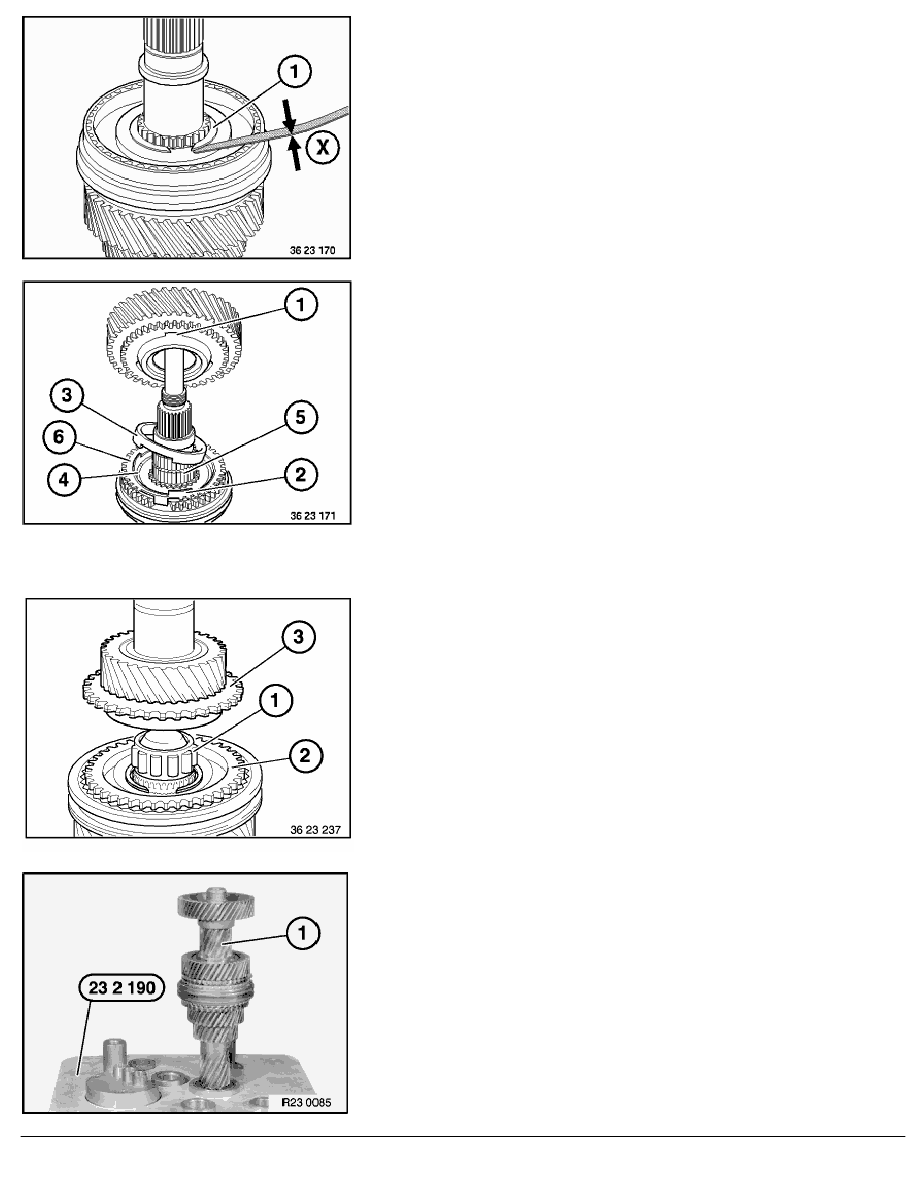
Install new circlip (1) and measure end float (X) with a feeler
gauge.
Permitted end float (X) max. 0.04 mm.
Note:
Circlips are available in Parts Service from 2.0 ... 2.3 mm in
increments of 0.05 mm.
Coat needle bearing and synchronizer ring on bearing surfaces
with ATF-oil.
Fit needle bearing (5) onto the output shaft.
Install synchronizer ring (6), friction ring (4) and taper ring (3) in
the guide sleeve.
Note:
Lug (3) on taper ring must locate in recess (4) of synchronizer
ring.
Fit 1st gear.
Note:
Lug (2) on friction ring must locate in recess (1) in gear.
Note:
Coat needle bearing and synchronizer ring on bearing
surfaces with ATF-oil.
Fit roller bearing (1), 5th gear synchronizer ring (2) and input shaft
(3) onto the output shaft.
Remove input and output shafts from special tool 23 2 190 and
place to one side.
Dismantling countershaft:
Install countershaft (1) in special tool 23 2 190.
RA Dismantling and assembling all synchronizer units (S5D 200G/ E36 M41)
BMW AG - TIS
06.02.2013 22:37
Issue status (12/2007) Valid only until next DVD is issued
Copyright
Page - 9 -