
3 Series E36 318tds (M41) SAL
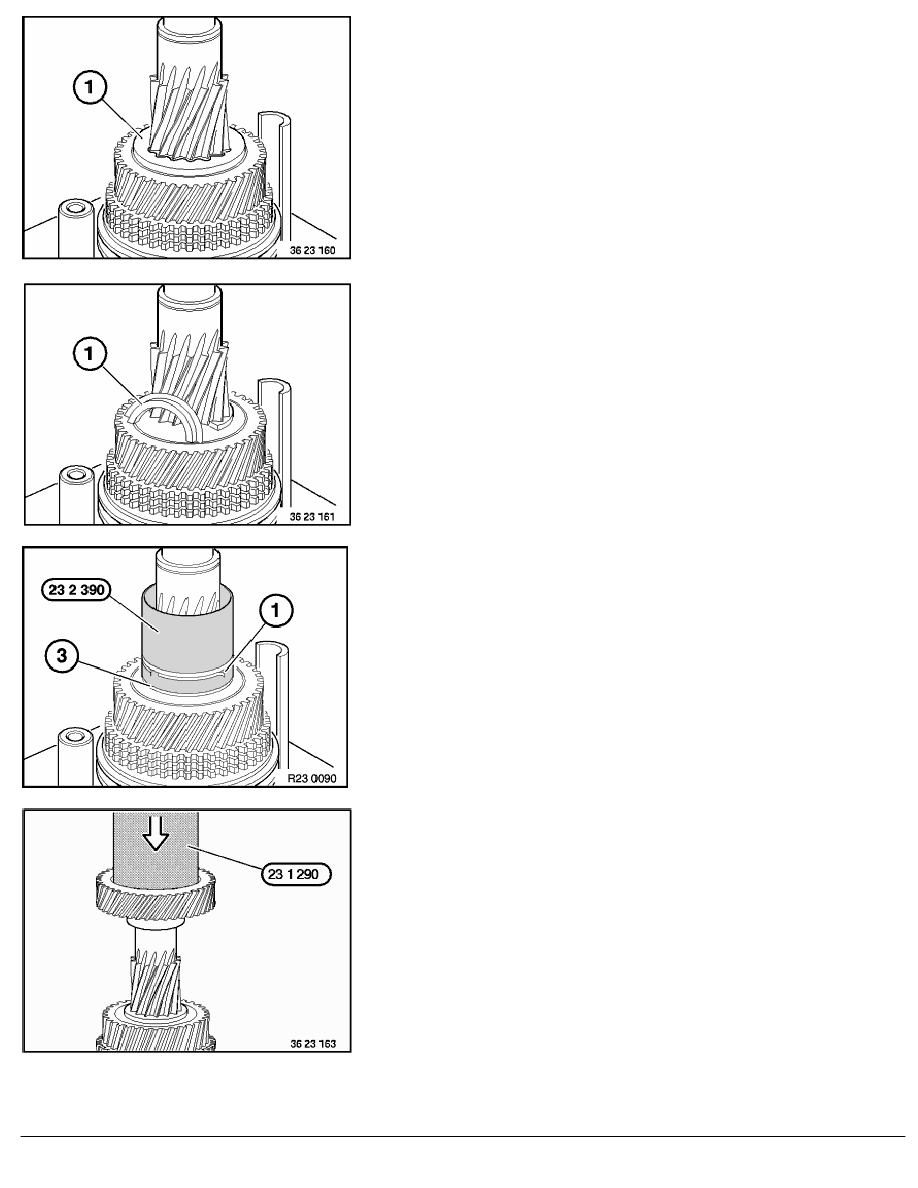
Slip stop disc (1) over the gearing up to the bearing surface.
Note:
The Parts No. points upwards.
Install thrust washer (two halves) with the small diameter (1)
facing downwards between thrust washer and gear.
Note:
If the supporting ring is replaced, the end float must be
adjusted.
Max. end float 0.04 mm.
Supporting rings from 2.9 ... 3.15 mm in increments of 0.05
mm are available in Parts Service.
Split new thrust washer at the nominal breakage point.
Fit special tool 23 2 390 onto the countershaft.
Fit locking ring (1) onto thrust washer with special tool 23 2 390.
The 4 locating lugs must engage in the groove (3) of the locking
ring.
Heat gear to approx. 180
°
C (heating plate). Check with
thermometer.
Thermometer, refer to BMW Service Workshop Equipment
Planning Documentation.
Fit gear to countershaft and press down to limit position using
special tool 23 1 290 and a hydraulic press.
RA Dismantling and assembling all synchronizer units (S5D 200G/ E36 M41)
BMW AG - TIS
06.02.2013 22:37
Issue status (12/2007) Valid only until next DVD is issued
Copyright
Page - 14 -