
3 Series E36 318tds (M41) SAL
Installation:
Before installation of the drive flange, place round wire snap
ring in groove of the differential case that both ends are
recessed in groove. This prevents lateral bending of the ring.
Press in drive flange by hand and turn slightly until wire snap ring
is heard to engage.
Replace stretched snap rings.
Unscrew and remove both bearing caps.
Caution!
Mark bearing caps - do not mix up bearing caps and shims.
Installation:
For tightening torque, refer to Technical Data
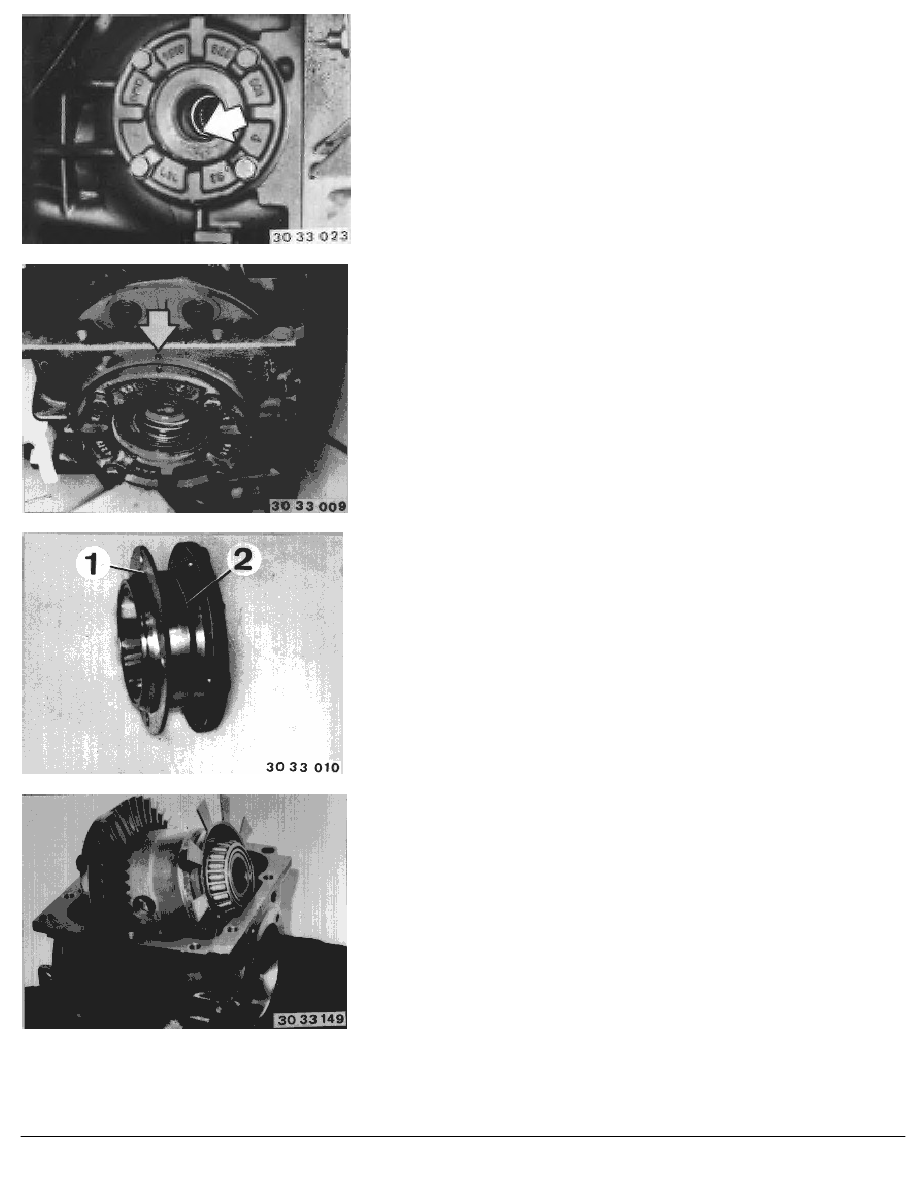
Differential case bearings and backlash are adjusted with shims
(1).
Check O-ring (2), replace if necessary.
Caution!
Changing the total thickness of shims (1) will change the
friction torque value.
After adjusting the friction torque, the backlash and tooth contact
pattern will have to be adjusted again,
refer to 33 12 551
Remove complete limited slip differential.
Installation:
Do not bend the pulse generator wheel.
RA Removing complete locking differential. (Type K) - final drive removed -
BMW AG - TIS
07.02.2013 00:07
Issue status (12/2007) Valid only until next DVD is issued
Copyright
Page - 2 -