3 Series E36 318tds (M41) SAL

a)
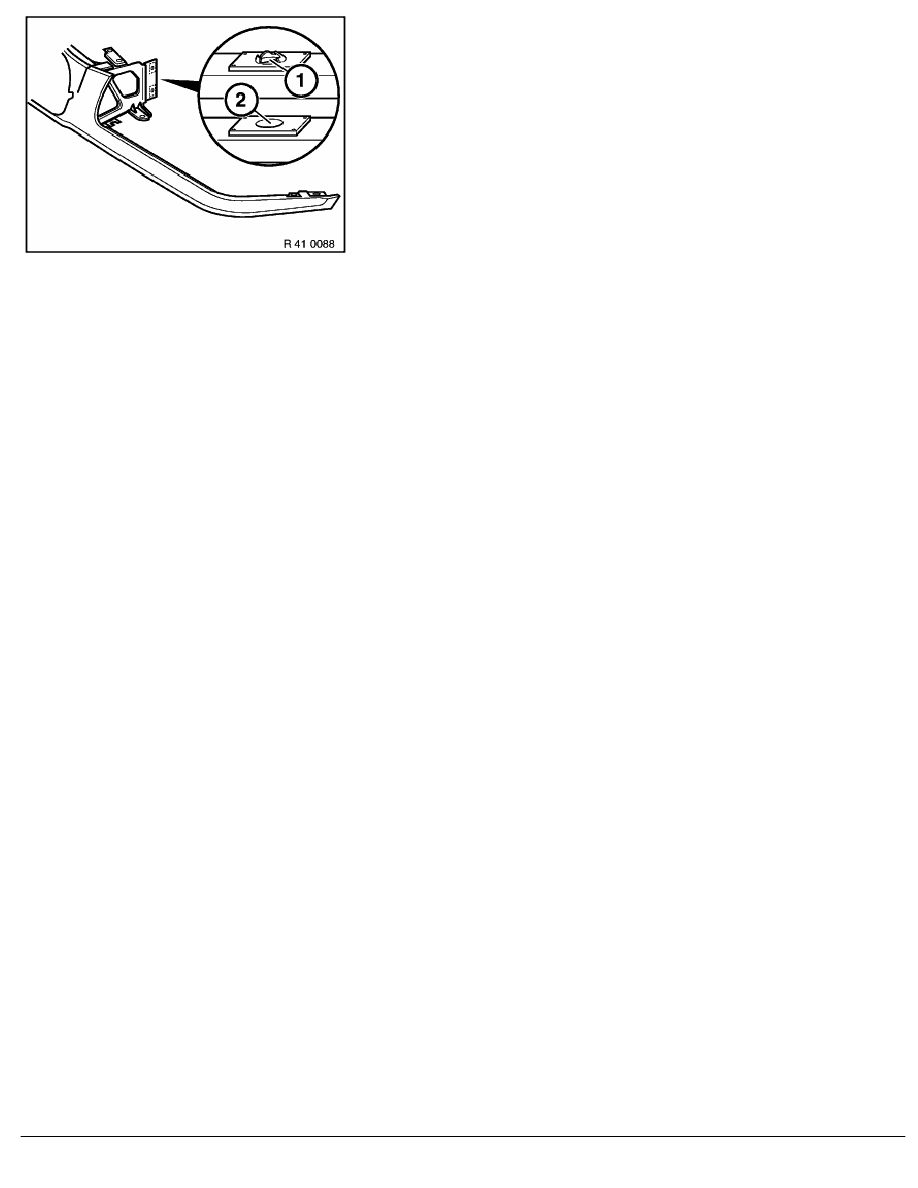
Grind down tabs (1) on speed nuts before painting (2) to
ensure that the retaining screws for the front panel can be
inserted and locate flush on the surface. The speed nuts in
the front panel remaining in the vehicle serve as bracing
points.
b)
Fit new front trim. Front side panels must be fitted in
accordance with specification (gaps).
c)
Check whether long bores in front trim match the hole pattern
in the side panels. If necessary, drill new holes in the front
trim.
d)
Fit front trim, deburr new holes and ground faces on tab
washers.
e)
Prime and paint spare part.
RA Replacing front panel
BMW AG - TIS
07.02.2013 02:09
Issue status (12/2007) Valid only until next DVD is issued
Copyright
Page - 4 -
