
3 Series E36 328i (M52) TOUR
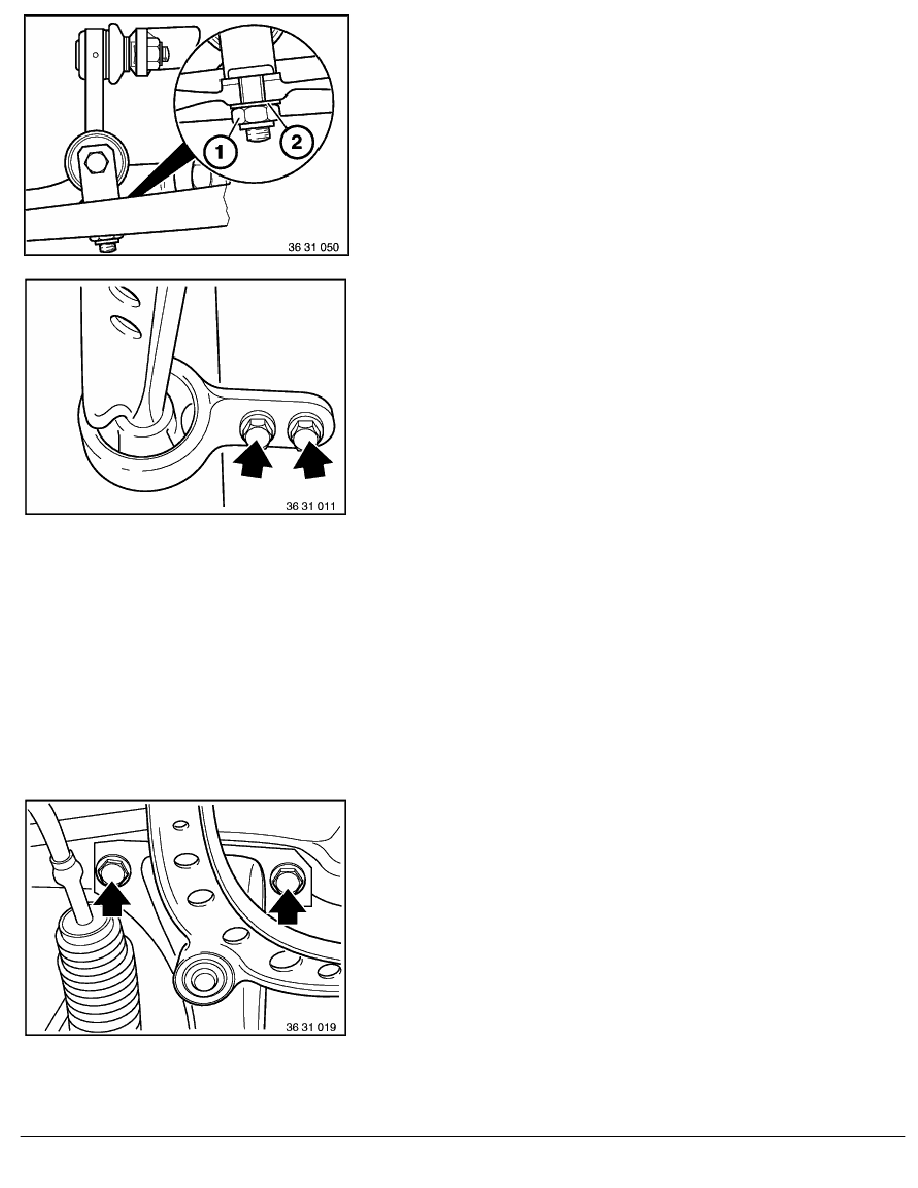
Stabilizer connection on control arm:
Unscrew left and right nuts (1).
Installation:
Replace self-locking nuts (1). Fit shim (2). Tightening
Torque,
refer to Technical Data 31 35 9AZ.
Unscrew left and right bolts.
Installation:
Use washers.
Tightening Torque,
refer to Technical Data 31 12 7AZ.
Suspend engine in installation position with special tool, described
in:
Removing oil sump.
Unscrew left and right engine mounts.
If necessary, remove the reinforcing cross struts
(Convertible/Roadster).
Unscrew left and right bolts.
Installation:
Up to model year 93:
1.
Remove paint from contact surfaces of front axle and engine
supports.
2.
Replace 4 screws.
3.
Coat screws on thread and head contact point with assembly
paste LM 48, Part No. 81 22 9 400 207.
Lubrication is not necessary when bolts 1 141 214 are
used.
RA Removing and installing complete front axle
BMW AG - TIS
09.02.2013 18:16
Issue status (12/2007) Valid only until next DVD is issued
Copyright
Page - 2 -