
3 Series E36 328i (M52) TOUR
Installation:
Clean tapped bores thoroughly (tapper).
Heat plate spring to max. 100
°
C (thermo-chrome pin).
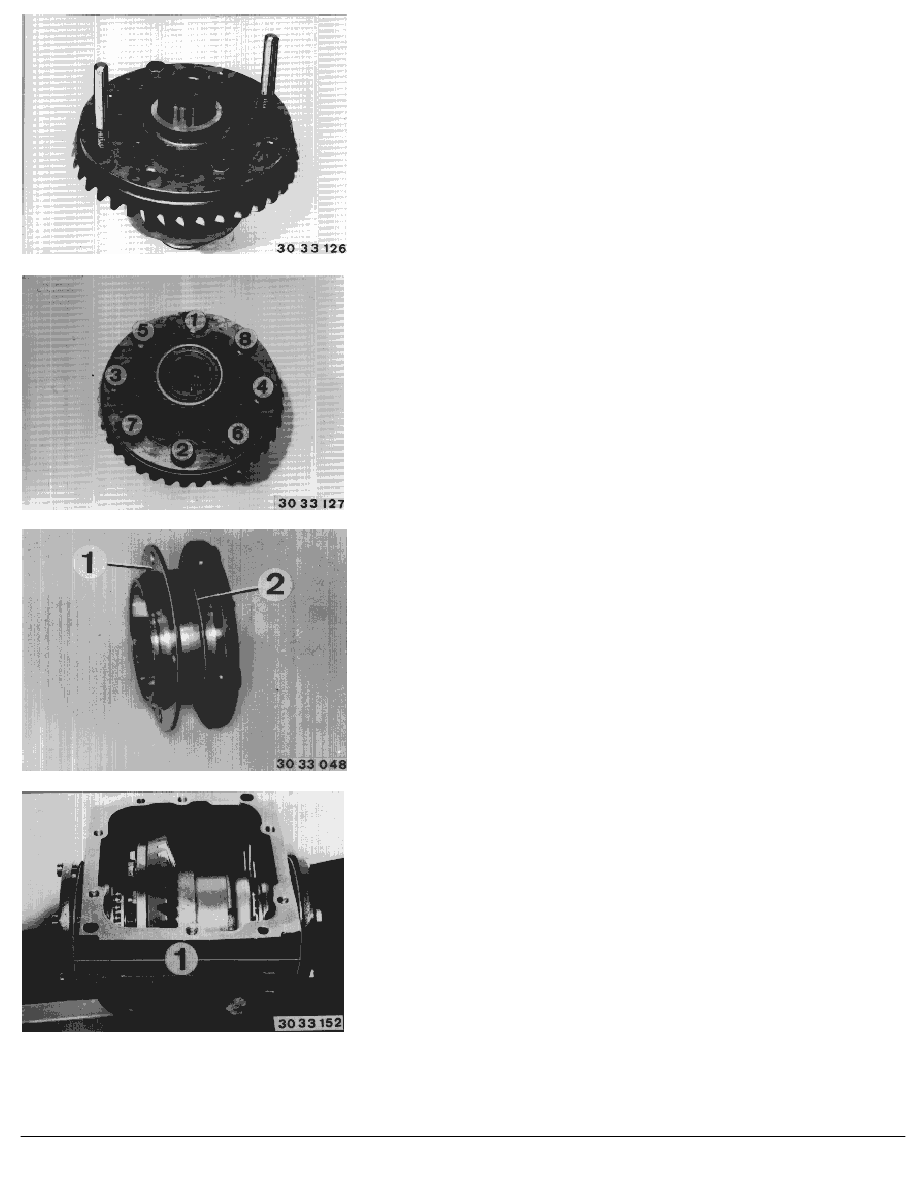
Mount crown wheel with two locally manufactured staybolts for
guiding.
Install new bolts with Loctite No. 270. Tighten bolts in order of
1 ... 8.
Tightening torque and torque angle,
refer to Technical Data.
Install differential with crown wheel and pulse gear.
Install side cover acc. to designation with corresponding washers
(1) and new O-rings (2).
Tightening torque, refer to Technical Data
Backlash/tooth contact pattern adjustments
Attach special tool 00 2 500 (dial gauge holder) and measure
torsional face runout,
refer to Technical Data
Caution!
The tooth contact pattern is always most important for a
perfectly adjusted pinion/crown wheel.
For general information on tooth contact pattern adjustments, refer
to "Replacing Drive Pinion with crown wheel"
in 33 12 551
RA Removing complete locking differential. (Type K) - final drive removed -
BMW AG - TIS
09.02.2013 19:27
Issue status (12/2007) Valid only until next DVD is issued
Copyright
Page - 8 -