
3 Series E46 330i (M54) SAL
33 32 083
Removing and installing/replacing lower
control arm
Note:
If the lower control arm is detached from the rear axle
carrier/trailing arm, it is necessary after reinstallation to carry out a
wheel/chassis alignment check.
Necessary preliminary tasks:
•
Remove rear wheel.
Important!
To avoid having to remove the coil spring, it will be necessary
to support the trailing arm with the workshop jack.
Support trailing arm from underneath using a workshop jack.
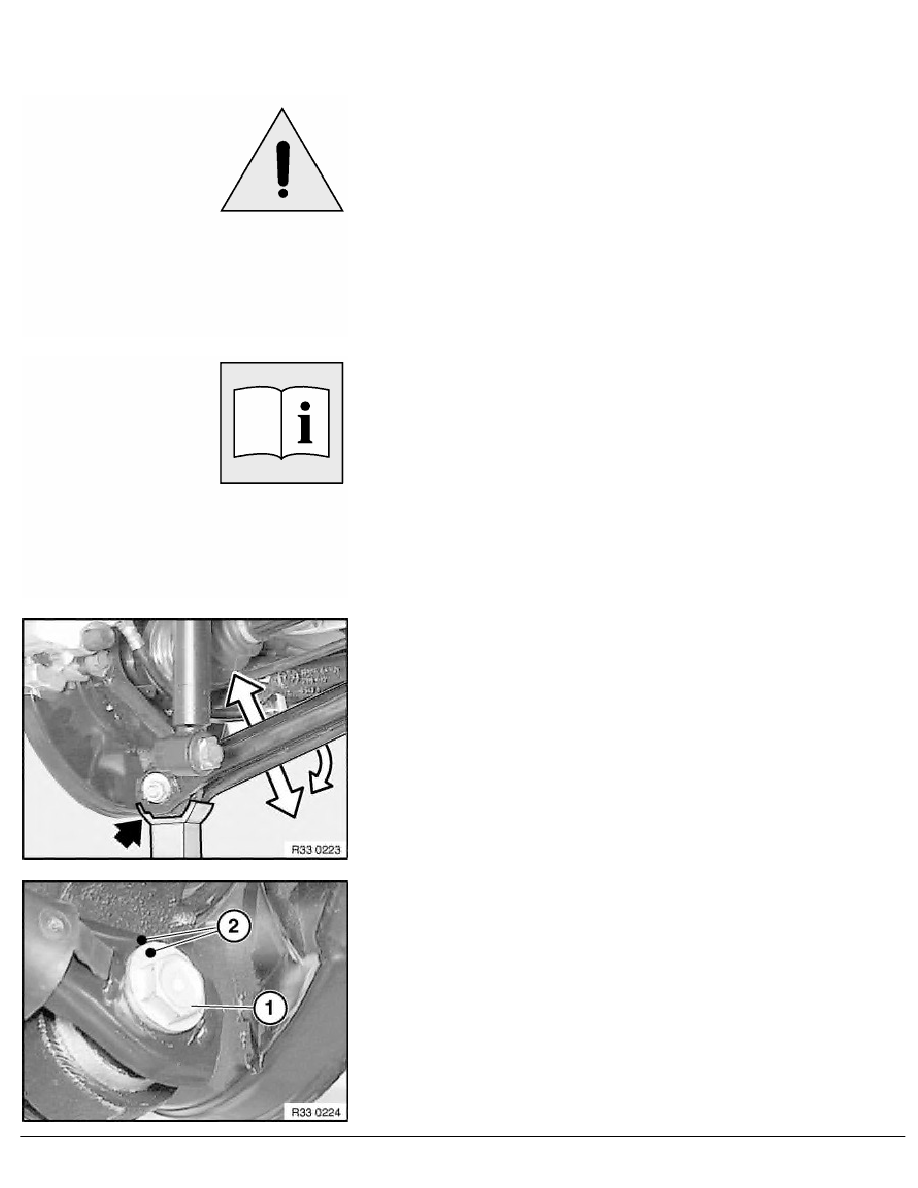
Spread cover on lower control arm and pull off.
Installation:
Opening in cover points upwards.
Mark position of eccentric screw (1) to lower control arm with
centre marks (2).
Replacement only: Carry over marking from old part to new part.
RA Removing and installing/replacing lower control arm
BMW AG - TIS
16.02.2013 03:47
Issue status (12/2007) Valid only until next DVD is issued
Copyright
Page - 1 -