
3 Series E46 330xd (M57TU) SAL
Installation:
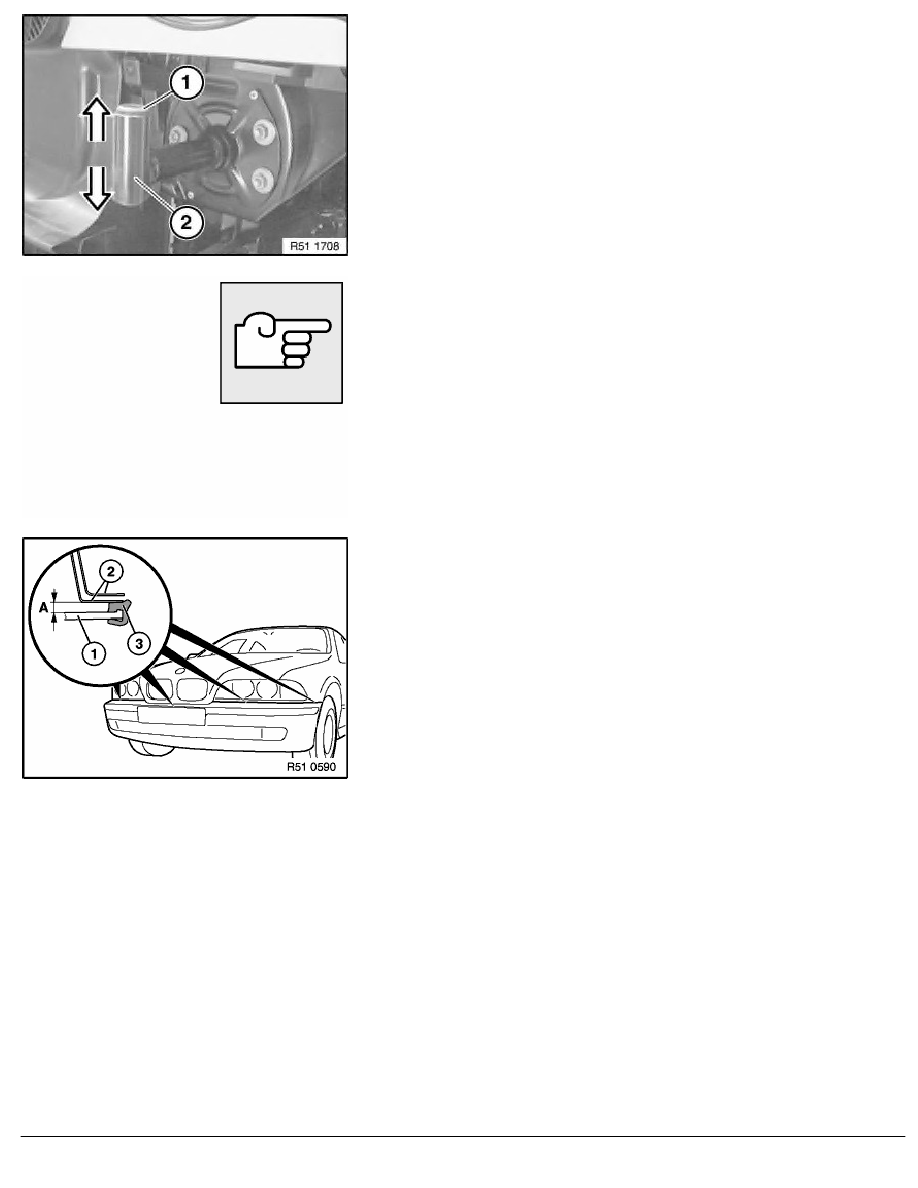
Height of bumper is adjusted by turning hexagon socket head
screw (1) on impact absorber (2).
Installation:
After sliding in bumper, clip panel into place sideways if necessary
(by pressing gently on edge of wheel arch to center of car).
In so doing, pay attention to alignment to turn signal lamp housing.
Carry out same work in event of slight parking bumps.
Installation:
Adjust all-round gap (A) between bumper and body cutout as
uniformly as possible.
1.
Bumper
2.
Body
3.
Seal
RA Removing and installing complete front bumper (from 10/01)
BMW AG - TIS
16.02.2013 05:56
Issue status (12/2007) Valid only until next DVD is issued
Copyright
Page - 3 -