
3 Series E46 M3 CSL (S54) COUPE
Caution!
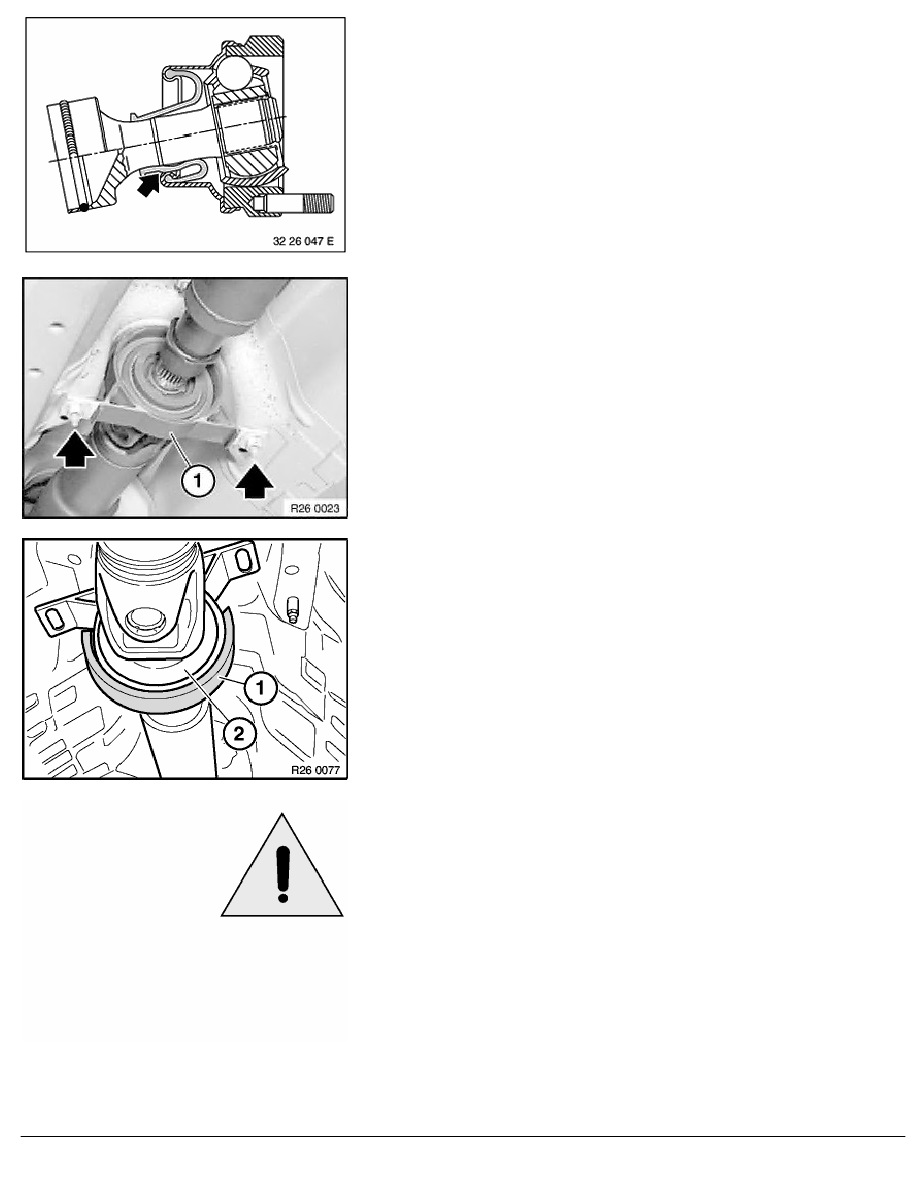
Do not let propeller shaft fall into joints. In particular, on constant-
velocity joint, rubber collar can become squashed, or joints may
be damaged.
Grip propeller shaft and release nuts.
Tightening torque, 26 11 6AZ.
Bend propeller shaft downwards at center bearing (1).
Detach propeller shaft from transmission output flange and
remove towards bottom.
Installation:
Pull off cover tape from butylene tape on both sides.
Stick butylene tape (1) to outside of center bearing (2).
Butylene tape,
refer to BMW Parts Service.
Caution!
Remove butylene tape already attached to center bearing.
Clean adhesive area on center bearing and on body.
Then coat adhesive area on body with mineral oil.
This coating with oil is necessary to facilitate insertion of the
sticky butylene tape in the propeller shaft tunnel.
This prevents the butylene tape from being deformed.
RA Removing and installing complete propeller shaft
BMW AG - TIS
16.02.2013 18:06
Issue status (12/2007) Valid only until next DVD is issued
Copyright
Page - 2 -