
3 Series E90 335d (M57T2) SAL
Important!
Adhere without fail to installation and screw-fastening
sequence.
Installation sequence:
1.
Join propeller shaft to transmission
2.
Join propeller shaft to rear differential
3.
Join centre mount
Screw-fastening sequence:
1.
Insert nut
2.
Flexible disc to transmission
3.
Centre mount
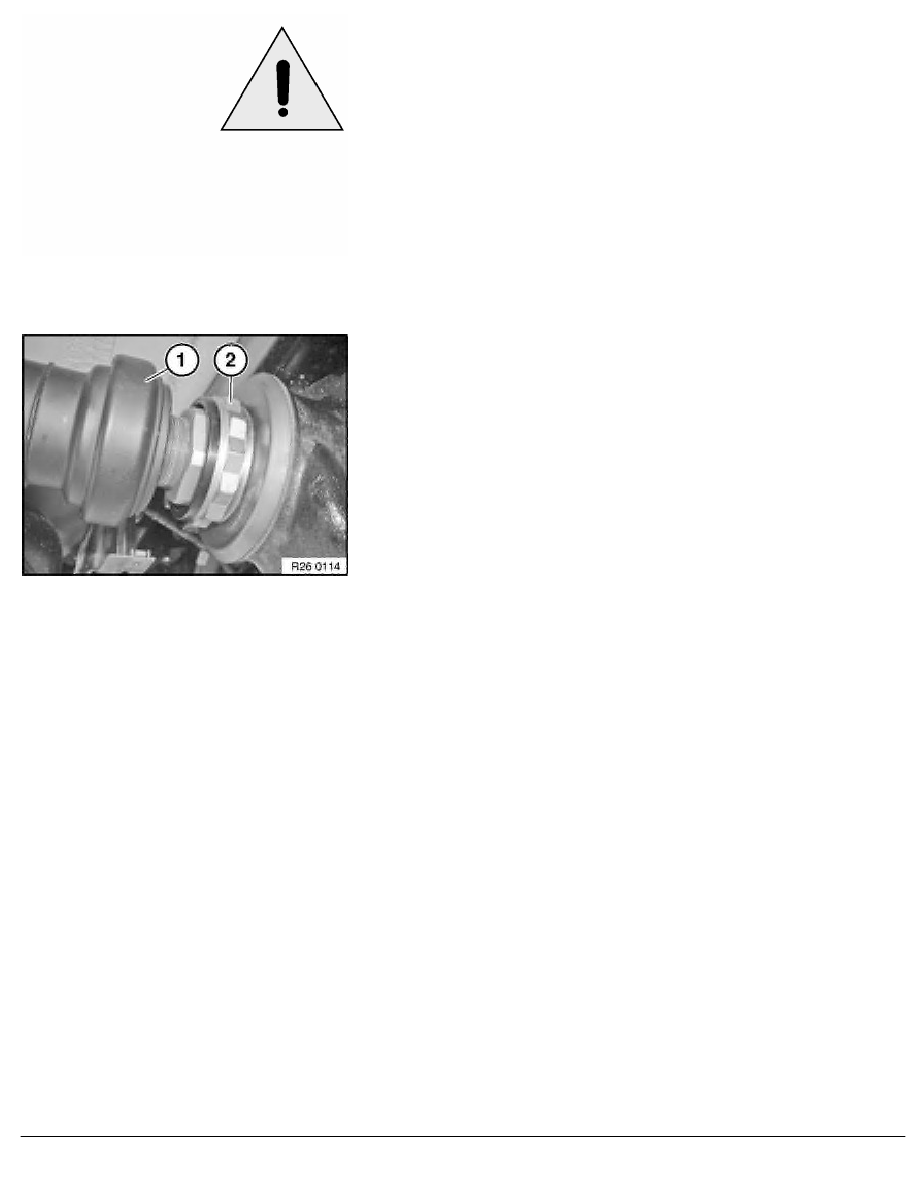
Slide propeller shaft (1) as far as it will go onto insert nut and
secure.
Secure propeller shaft at centre universal joint against turning with
a tyre iron.
Important!
The bihexagonal flange nut (2) must not be used for bracing
.
Failure to comply with this instruction may result in serious
damage to the rear differential.
Insert nut must be screwed into place within 5 minutes.
Tightening torque 26 11 15AZ
.
RA Removing and installing propeller shaft (inserted) completely
BMW AG - TIS
21.02.2013 09:54
Issue status (12/2007) Valid only until next DVD is issued
Copyright
Page - 4 -