
3 Series E91 325xi (N52K) TOUR
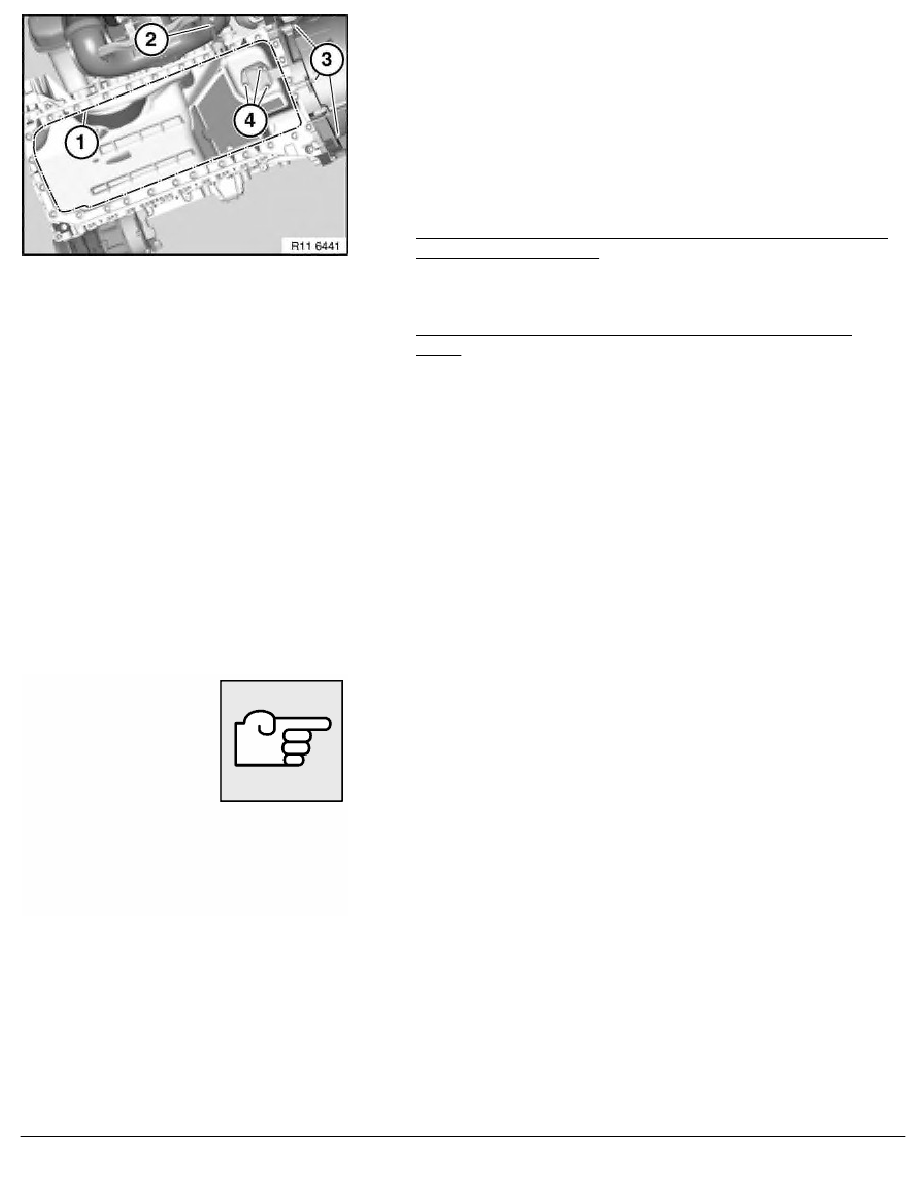
Release bolts (3) on transmission.
Detach return hose (2).
Important!
Different screw/bolt lengths for securing the oil sump are fitted
on vehicles with optional extra SA203 (all-wheel drive) or
without or without SA205 (automatic transmission).
Observe different tightening torques.
Release screws along line (1).
For vehicles with optional extra SA203 (all-wheel drive) or SA205
(automatic transmission):
Tightening torque 11 13 2AZ
.
Tightening torque 11 13 3AZ
.
Additionally for vehicles with optional extra SA203 (all-wheel
drive):
Tightening torque 11 13 4AZ
.
Installation:
Replace aluminium screws.
If necessary, unfasten screws (4). Remove oil level sensor.
Important!
There must be no adhesive residues in the oil sump retaining
threads.
Clean retaining threads.
Installation:
Replace all seals.
Assemble engine.
RA Removing and installing, sealing or replacing oil sump (N52K)
BMW AG - TIS
11.02.2013 09:07
Issue status (12/2007) Valid only until next DVD is issued
Copyright
Page - 2 -