
3 Series E91 330xi (N52) TOUR
Installing wheel electronics
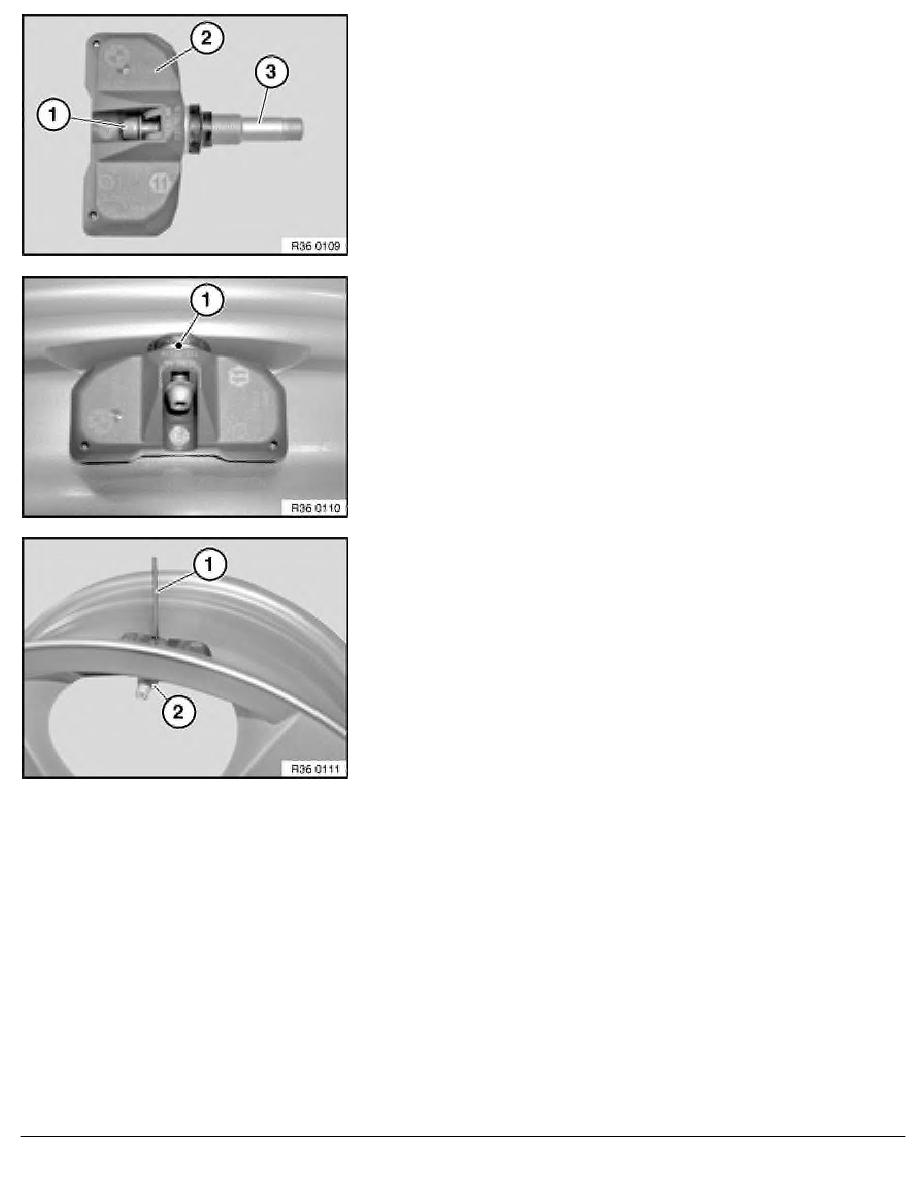
Insert new Torx socket screw (1) in wheel electronics (2) and
secure firmly.
Twist new valve insert (3) by hand approx. 3 turns onto
screw (1).
Note:
Do not tighten screw; wheel electronics and valve insert must be
loosely joined together.
Insert valve insert with wheel electronics into cleaned valve bore.
Here the radial bore (1) for gripping on the circumference of the
valve insert ball head must point outwards.
Insert the brace (1) supplied with the valve into the valve insert
bore.
Fit new washer and screw on new union nut (2) by hand as far as
it will go.
Important!
The screw connection must be tightened to the specified
torque in one go!
Do not under any circumstances retighten the screw
connection!
Remove brace, otherwise it may damage the tyre.
Tighten down union nut (2) while using brace (1) to prevent
valve insert from turning.
Installation:
Tightening torque 36 11 1AZ
.
RA Removing and installing / replacing RDC wheel electronics
BMW AG - TIS
21.02.2013 06:19
Issue status (12/2007) Valid only until next DVD is issued
Copyright
Page - 3 -