
3 Series E91 330xi (N52) TOUR
51 11 050
Removing and installing/replacing carrier for
front bumper trim
Important!
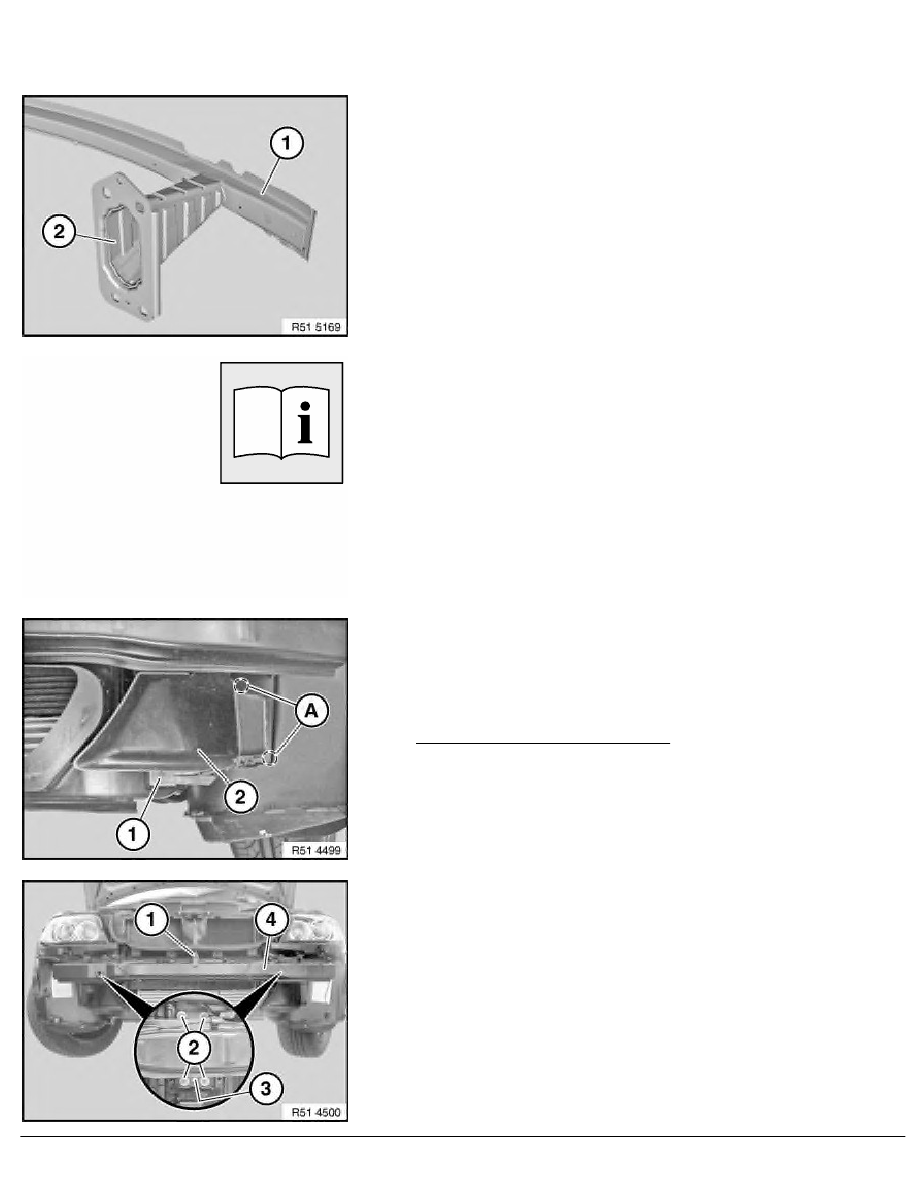
During replacement, all the cavities of the carrier (1) and the
crashbox (2) must be sealed with cavity sealant.
Necessary preliminary tasks:
•
Remove front bumper trim
•
Remove fanfare horn on left/right
Release screw (1) on cooling air guide (2) on left and right.
Depending on engine version, release screws in area (A).
Remove cooling air guide (2) on left and right.
Note:
The following work step ends here:
"Removing and installing cooling air guide".
Release screw (1).
Release nuts (2) and blind rivets (3).
Installation:
Blind rivets (3) are not refitted.
If necessary, feed out cable and remove carrier (4).
Tightening torque 51 11 2AZ
.
RA Removing and installing/replacing carrier for front bumper trim
BMW AG - TIS
21.02.2013 07:36
Issue status (12/2007) Valid only until next DVD is issued
Copyright
Page - 1 -