
3 Series E93 328i (N52K) CONVER
Important!
The position of the rear window may not be changed after
5 minutes from the start of adhesive application as adhesive
curing is already too far advanced.
The window may become detached if this period of time is not
maintained.
Window cementing not OK = renewed window cementing
necessary.
Position rear window with special tool 51 0 020 on roof shell
and press down uniformly.
X:
Stop, gauge on roof shell
Y:
Centre optically to roof shell
Z:
Press down rear window on roof shell until flush
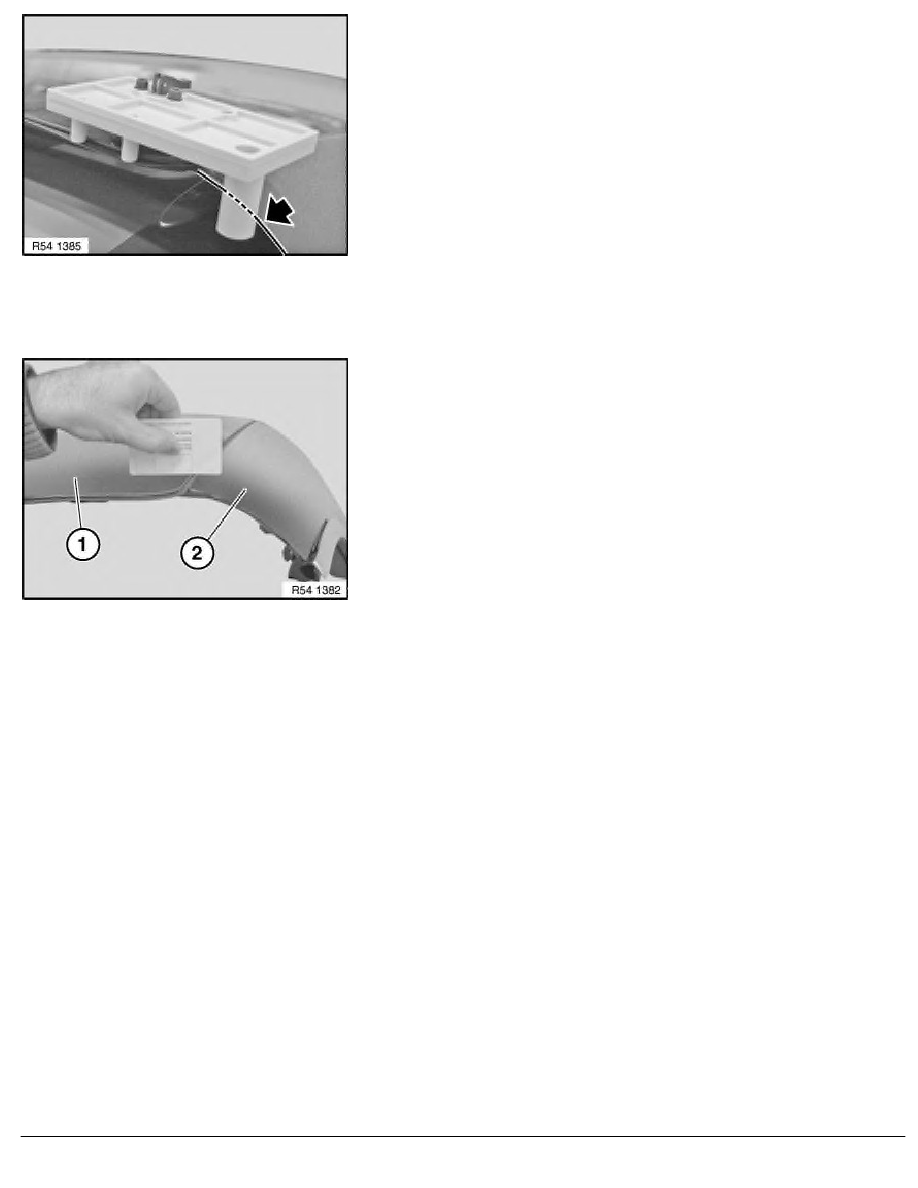
Check that rear window (1) is flush with roof outer skin (2).
Z:
0 to -1 mm underprotrusion.
If necessary, press down rear window.
Secure rear window with yellow plastic adhesive tape to roof shell.
Note:
After pressing down, do not move the rear window any more as
this may case the window to become detached.
Cementing otherwise not OK and renewed cementing necessary.
Adhesive curing time is adhesive-dependent and must be
observed without fail.
RA Removing and installing/replacing rear window
BMW AG - TIS
06.02.2013 10:47
Issue status (12/2007) Valid only until next DVD is issued
Copyright
Page - 5 -