
5 Series E39 525i (M54) SAL
Unfasten nut.
Installation:
Tapered spigot and bore both free of grease.
Replace self-locking nut.
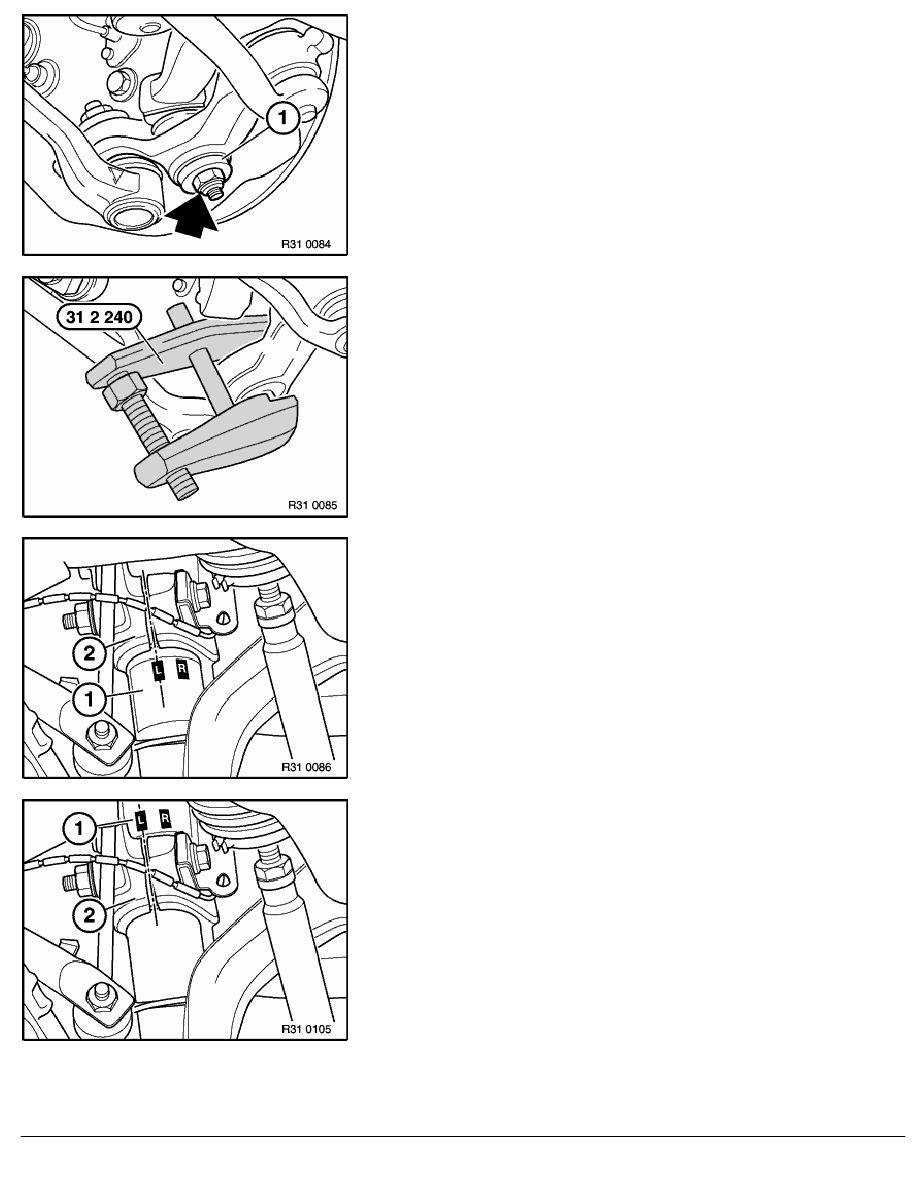
Use washer (1).
Tightening Torque, if necessary brace on hex cap nut,
refer to Technical Data 31 12 6AZ.
Press tension strut belt of swivel bearing with special
tool 31 2 240.
Mark the installation position of the spring strut tube (1) in the
swivel bearing (2) with paint - never mark with scribing tool.
Marking is not required if the factory mark is still identifiable.
R = installation position of right spring strut tube
L = installation position of left spring strut tube
Version with factory marking above the swivel bearing.
RA Removing and installing/replacing both tension struts
BMW AG - TIS
18.02.2013 02:21
Issue status (12/2007) Valid only until next DVD is issued
Copyright
Page - 2 -