
5 Series E39 525tds (M51) TOUR
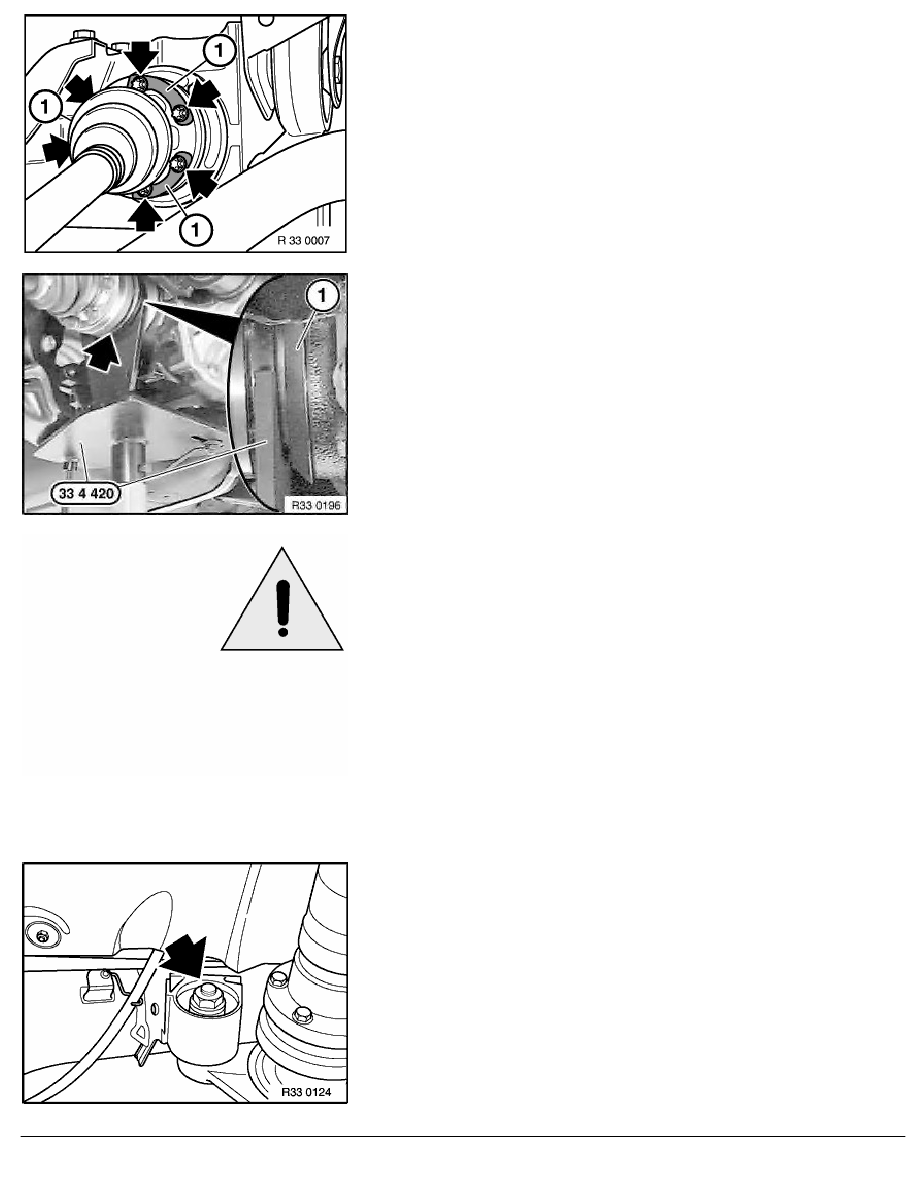
Release screws on left and right.
Tightening torque, 33 21 1AZ.
Tie up output shafts.
Installation:
Fit shims (1).
Support final drive with transmission lifter and special tool
33 4 390.
Observe distance between special tool 33 4 390 and dust
protection sleeve (1). If dust protection sleeve (1) is damaged or
bent, it may come into contact with flange => noise.
Caution!
Comply with following installation sequence in order to
prevent torsion stress on final drive during installation and
thus avoid complaints about noise:
-
Install final drive with lifter.
-
Install retaining screws (do not tighten down).
-
Remove lifter.
-
Tightening sequence:
•
Tighten both rear screws.
Tightening torque, 33 17 1AZ.
•
Tighten front screw.
Tightening torque, 33 17 1AZ.
Release nut.
Installation:
Install screw and nut, do not tighten down.
Comply with installation sequence.
RA Removing and installing or replacing final drive
BMW AG - TIS
20.02.2013 06:45
Issue status (12/2007) Valid only until next DVD is issued
Copyright
Page - 2 -