
5 Series E39 530d (M57) SAL
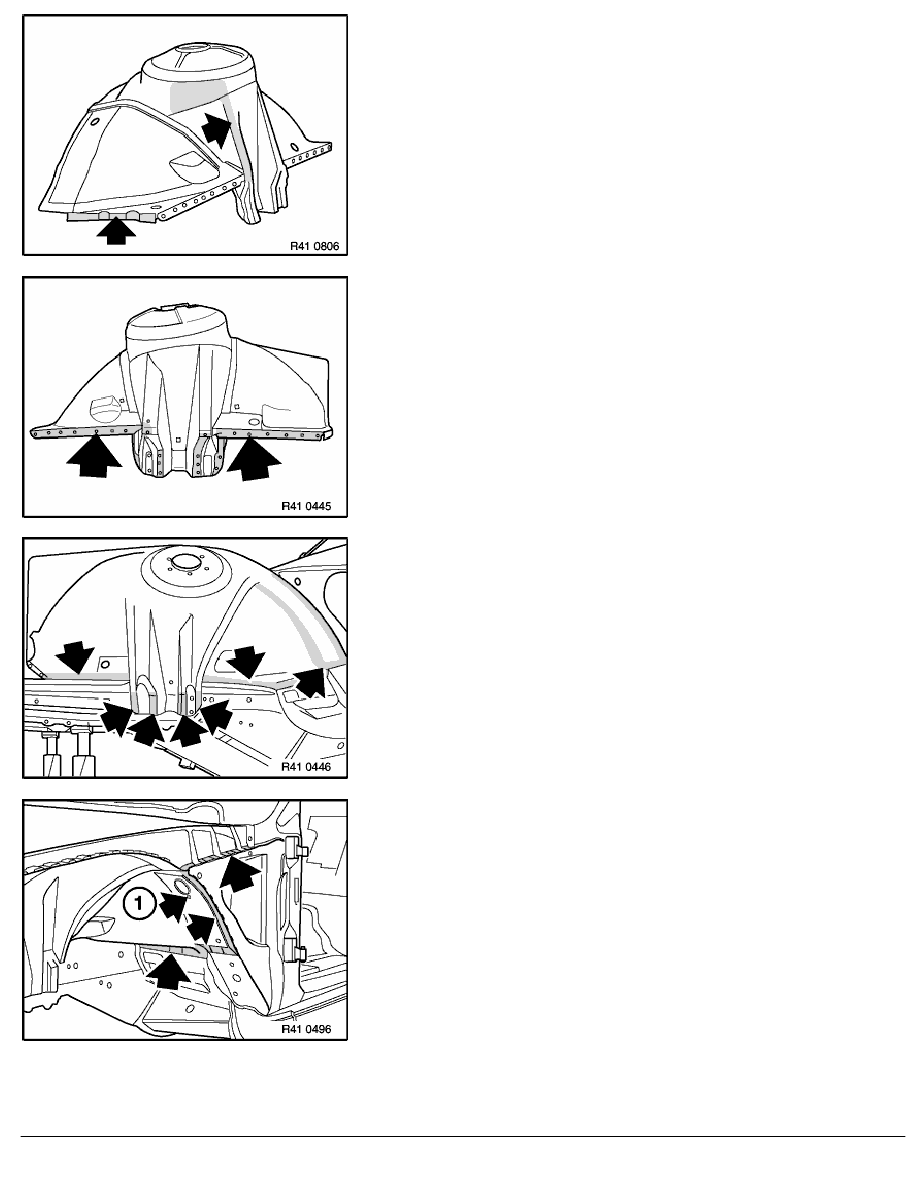
Clean up the connection points between spare wheel arch and
wheel arch / end wall,
wheel arch / carrier plate.
Note:
Diagram shows front wheel arch without attached carrier support.
Drill out holes for plug welding on spare front wheel arch in
connection point between wheel arch / engine support.
Clean up connection point.
Note:
Diagram shows front wheel arch without attached carrier support.
Install and secure front wheel arch using straightening angle set.
Weld up front wheel arch.
Note:
To improve illustration, straightening angle set shown
removed.
Diagram shows front wheel arch without attached carrier
support.
Expose connection point between wheel arch / end wall,
wheel arch / carrier support and
wheel arch / carrier plate
extension.
Note:
On vehicles with slide/tilt sunroof, adjust and weld up
mounting for water drainage pipe (1).
RA Replacing front left wheel arch
BMW AG - TIS
20.02.2013 17:49
Issue status (12/2007) Valid only until next DVD is issued
Copyright
Page - 4 -