
5 Series E39 530d (M57) TOUR
Installation:
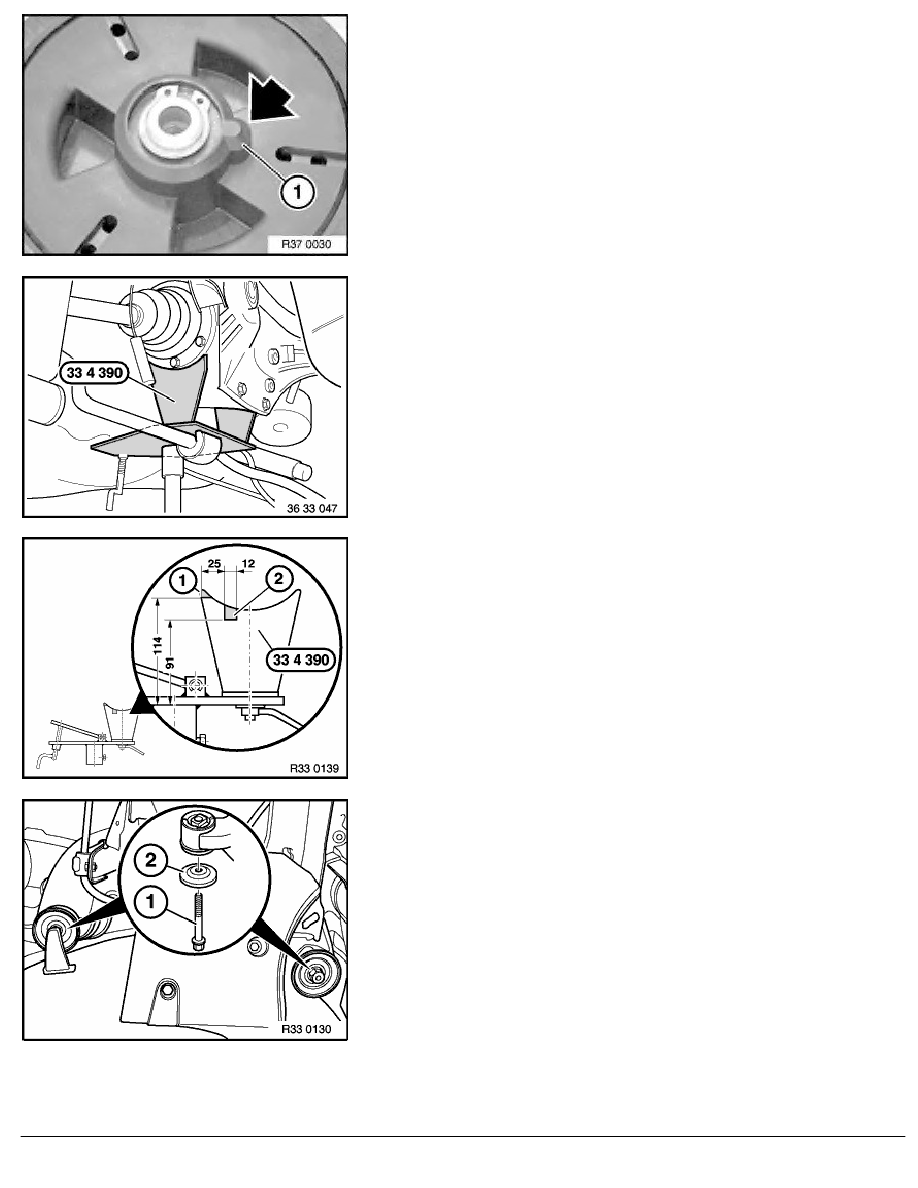
The lug (1) must lie in the recess of the wheel carrier hole!
Tightening torque,
refer to Technical Data 37 12 5AZ.
Support final drive with workshop hoist 00 2 030 and special tool
33 4 390.
Rework special tool in accordance with drawing if necessary.
Cut (1) should be performed on both feet and cut (2) should only
be performed on the fixed foot.
Remove rear axle carrier from the body by unfastening bolts (1) at
left and right and lowering rear axle.
Installation:
The rubber-coated detent plate (2) must be installed at the
rear in the driving direction.
For tightening torque,
refer to Technical Data 33 33 3AZ
RA Removing and installing entire rear axle carrier (touring)
BMW AG - TIS
20.02.2013 17:10
Issue status (12/2007) Valid only until next DVD is issued
Copyright
Page - 2 -