
5 Series E39 530d (M57) TOUR
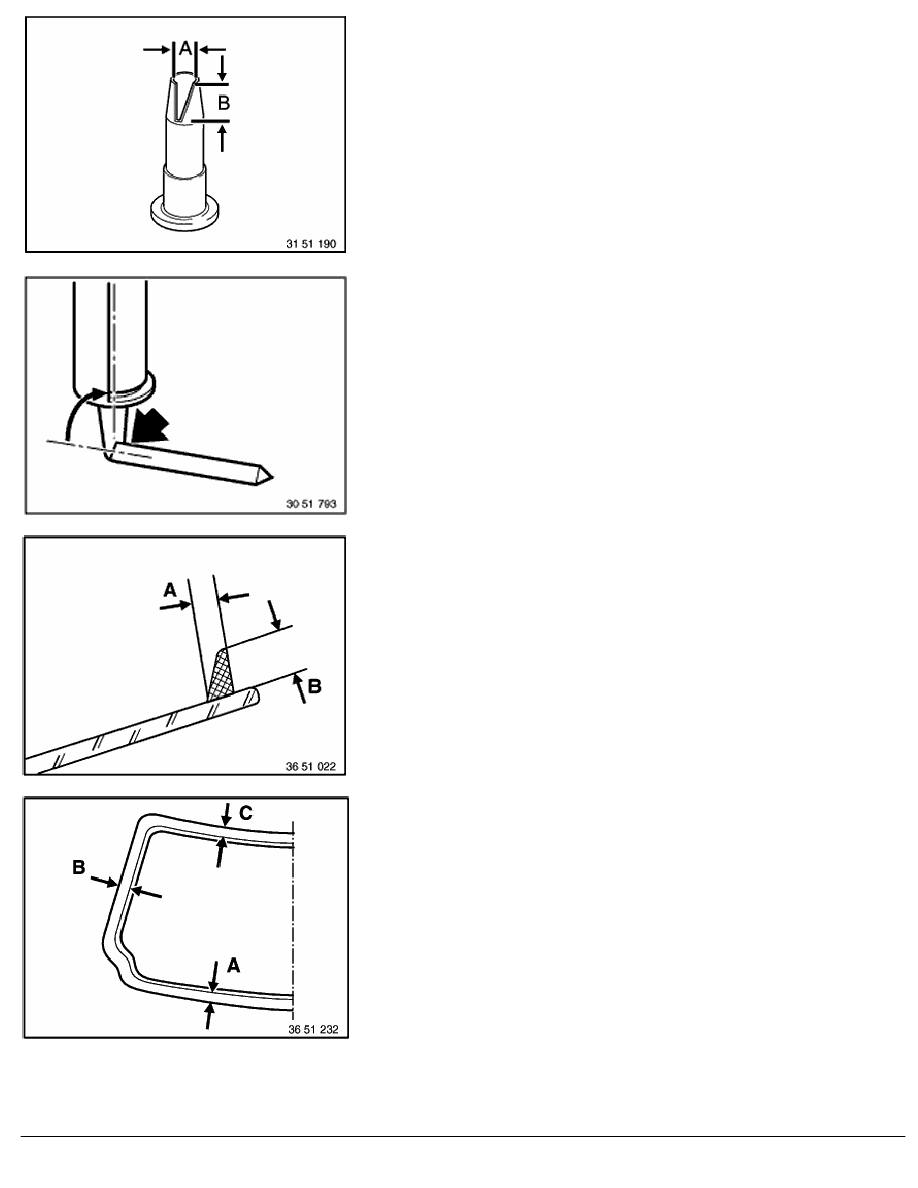
Cut nozzle to size.
(A) 8 mm
(B) 11
-2
mm
Note:
For an even application of adhesive bead:
Use a cartridge gun (operated pneumatically or electrically,
sourcing reference: BMW Parts Service).
Check expiry date of glue!
If necessary, apply a test bead before gluing.
Cartridge must be held perpendicularly to the windscreen glass.
Shape of glue bead:
(A) 8 mm
(B) 11
-2
mm
Caution!
Apply glue quickly and insert windshield.
Skin formation time of glue, maximum 10 minutes.
Apply glue bead at distance (A, B, C) along edge of windshield.
(A) 10 mm
(B) 8 mm
(C) 8 mm
RA Removing and installing front windscreen
BMW AG - TIS
20.02.2013 21:29
Issue status (12/2007) Valid only until next DVD is issued
Copyright
Page - 7 -