
5 Series E60 530d (M57TU) SAL
Important!
To prevent the stabilizer from being distorted, secure first the
left retaining bracket (without elongated holes) and then the
right retaining bracket (with elongated holes) to the front axle
carrier.
E61: If necessary, remove vibration damper from right retaining
bracket of stabilizer.
Tightening torque 33 55 6AZ
.
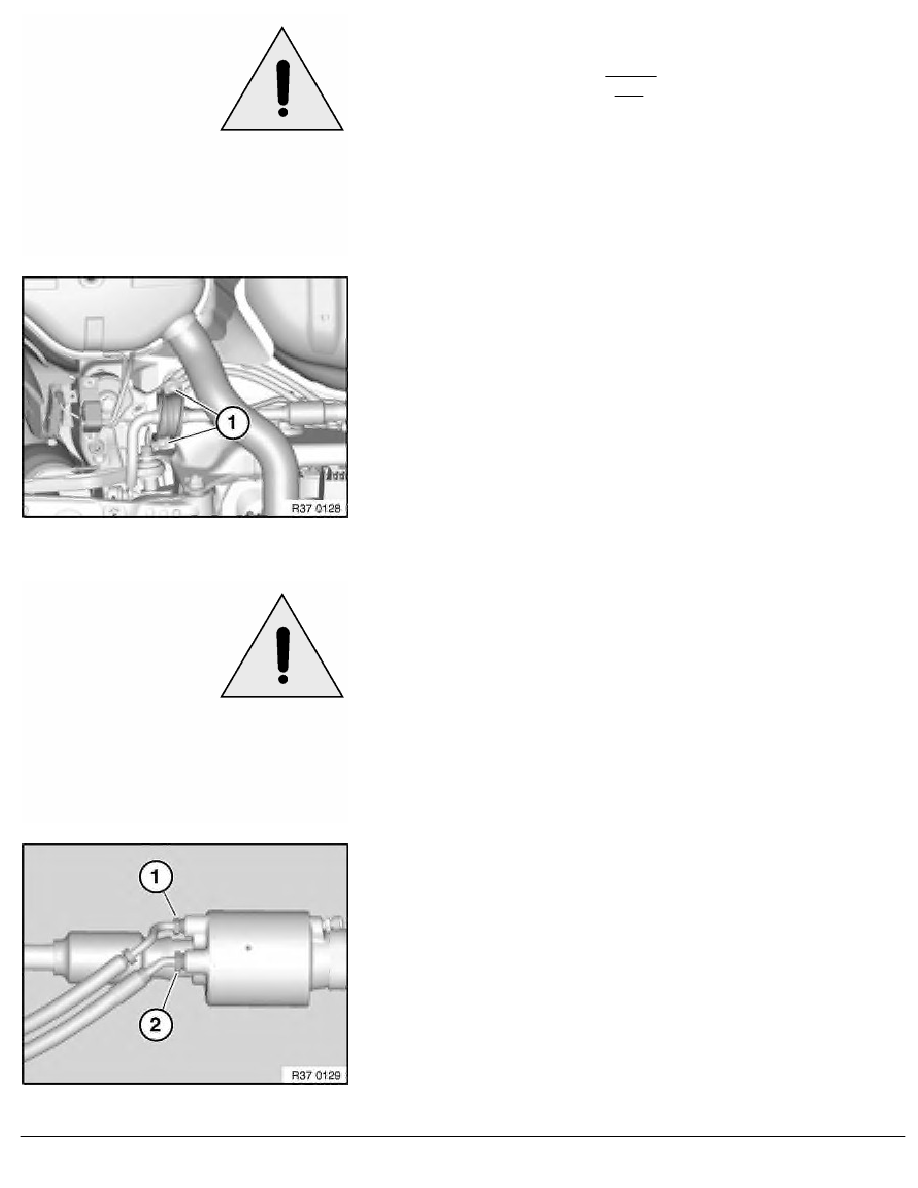
Release nuts (1) on both sides.
Remove stabilizer from front axle carrier.
Check anti-friction bearing on both sides for damage; if necessary,
replace stabilizer (observe note at start of repair instruction).
Installation:
Check rubber mount on both sides, replace if necessary.
Replace self-locking nut.
Tightening torque 33 55 3AZ
.
Important!
Risk of damage! Pressure lines must not have any contact
with the stabilizer (minimum distance 5 mm)!
Release nuts (1, 2).
Tightening torque 37 14 18AZ
.
Disconnect pressure lines and seal off with seal plugs.
Remove stabiliser links on both sides from stabilizer.
Remove stabilizer sideways.
Installation:
Pressure lines are protected against being mixed up by different
thread diameters on the oscillating motor connection.
RA Removing and installing/replacing rear active stabilizer
BMW AG - TIS
21.02.2013 17:24
Issue status (12/2007) Valid only until next DVD is issued
Copyright
Page - 2 -