
5 Series E60 M5 (S85) SAL
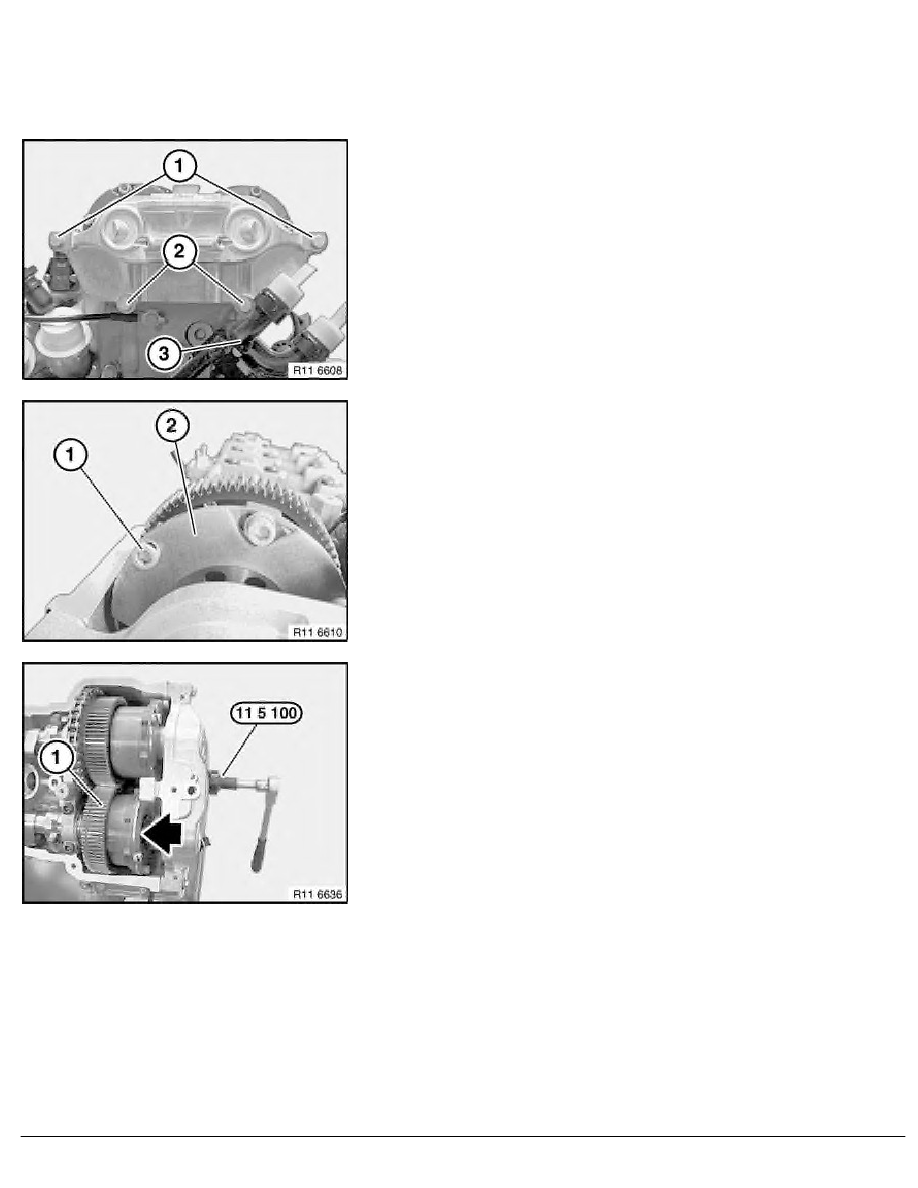
Both inner sleeves with elongated hole must rotate
counterclockwise (see arrow).
Note:
Illustration shows cyl. 1 to 5.
Installation:
Check seal for correct seating.
Secure VANOS adjustment unit with screws (1 and 2).
Tighten down hexagon socket screws with and without washers
to 10 Nm .
Installation:
Mark all hexagon socket screws which are already tightened down
with a coloured dot.
Note:
Illustration shows cyl. 1 to 5.
Important!
Remove all special tools - risk of damage.
Continue cranking engine at hexagon head or with special tool
11 5 100 120
°°°°
camshaft until further hexagon sockets screws
can be inserted on the VANOS gear and tighten to 10 Nm .
Note:
First both the inlet camshafts are moved when the engine is
cranked.
Both exhaust VANOS camshafts are moved in the direction of the
arrow (retard stop).
Illustration shows cyl. 1 to 5.
RA Removing and installing / replacing left inlet VANOS gear (S85)
BMW AG - TIS
22.02.2013 16:40
Issue status (12/2007) Valid only until next DVD is issued
Copyright
Page - 8 -